
How to set up your point of sale in Snad
To set up the point of sale in Snad ERP, open POS, then Settings. Choose the POS business sector, then switch the selling rules, payment methods and order type. Each switch saves the moment you flip it, and the opening cash when you leave its field.
In this guide9
Steps
Step 1: Open the POS settings
In the sidebar, choose POS, then Settings. A page of cards opens, and each card saves its own changes. Details
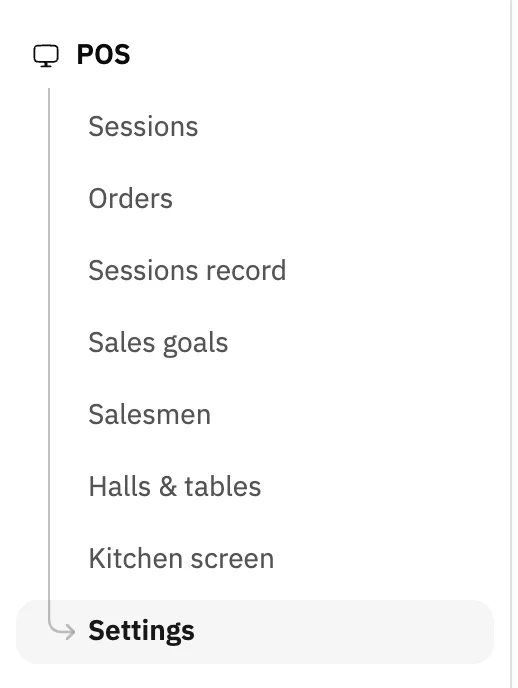
Image key - POS in the sidebar
- Settings
Step 2: Choose your business sector
Under POS business sector, choose your sector. Choosing Restaurants & cafés shows a Kitchen late threshold (minutes) field below it. Details
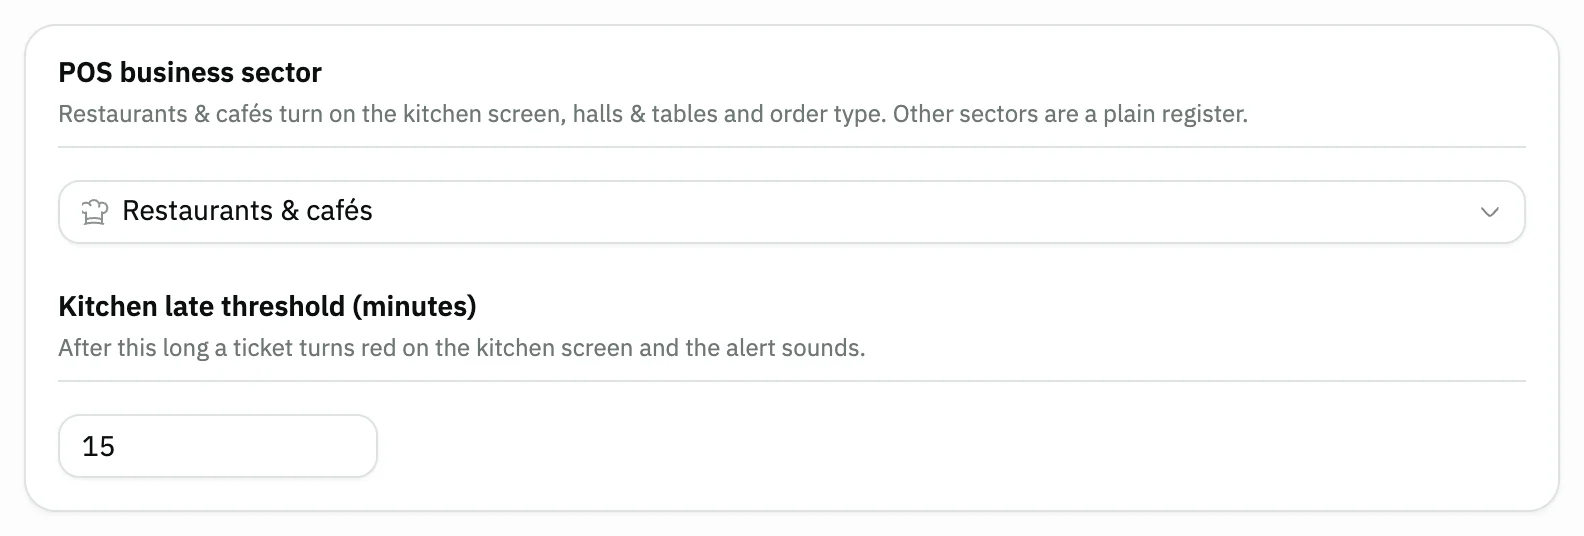
Image key - The POS business sector list
- Kitchen late threshold (minutes)
Step 3: Set the selling rules
In Sales settings, switch what is allowed at the sale and what shows, such as profit, and set the order return period (POS orders) in days. Each switch is explained in sales settings. Details
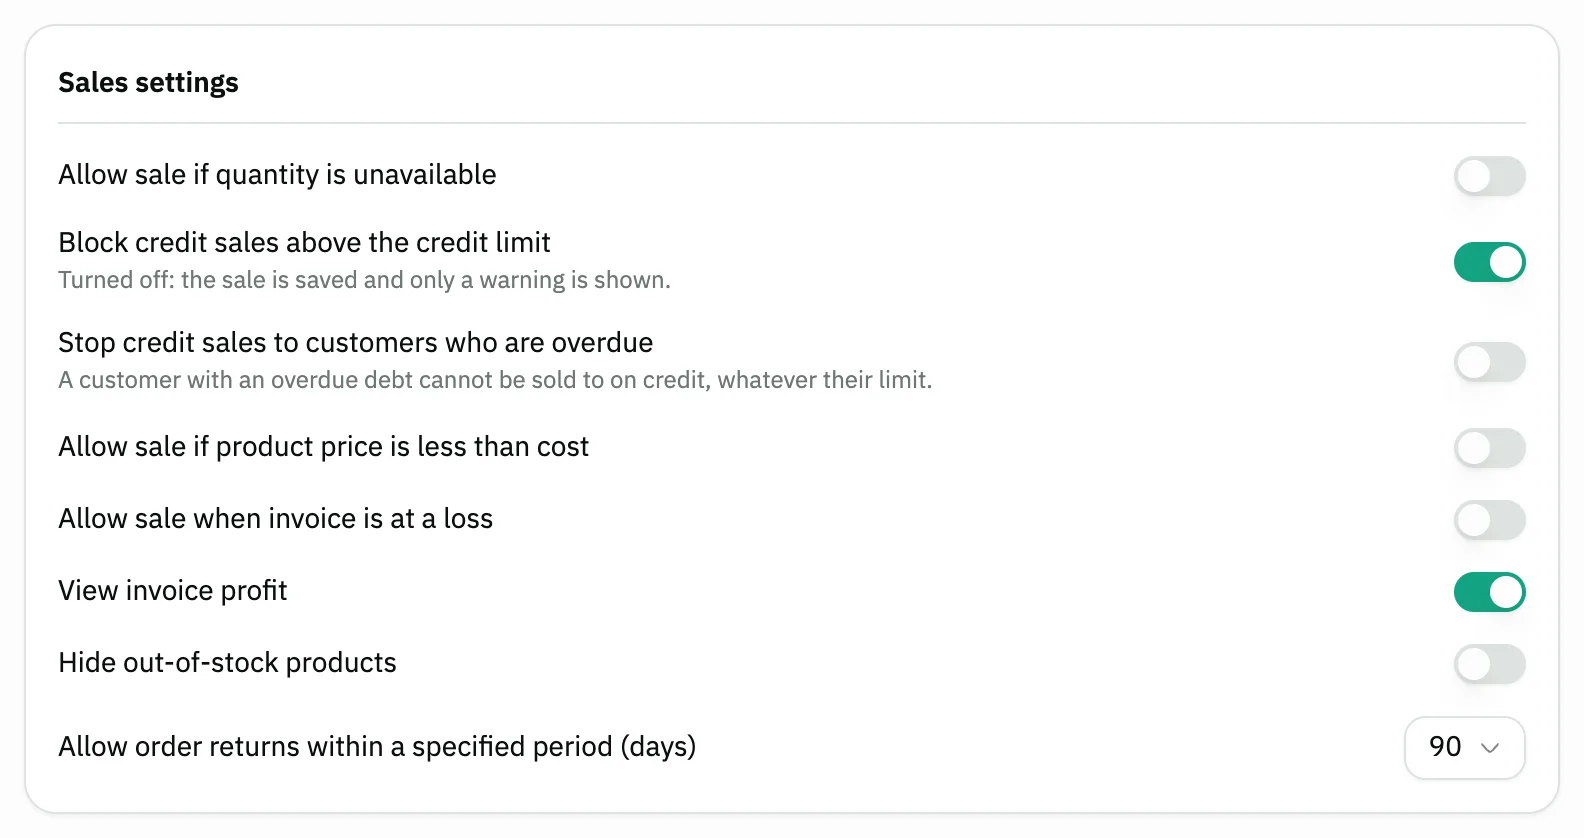
Image key - View invoice profit
- Allow order returns within a specified period (days)
Step 4: Choose the payment methods
Under Payment methods, switch Cash and Card on or off as you accept them. Then pick the Default payment method that each new cashier sale opens with (selling at the POS). For a new method, press Add a payment method. Details
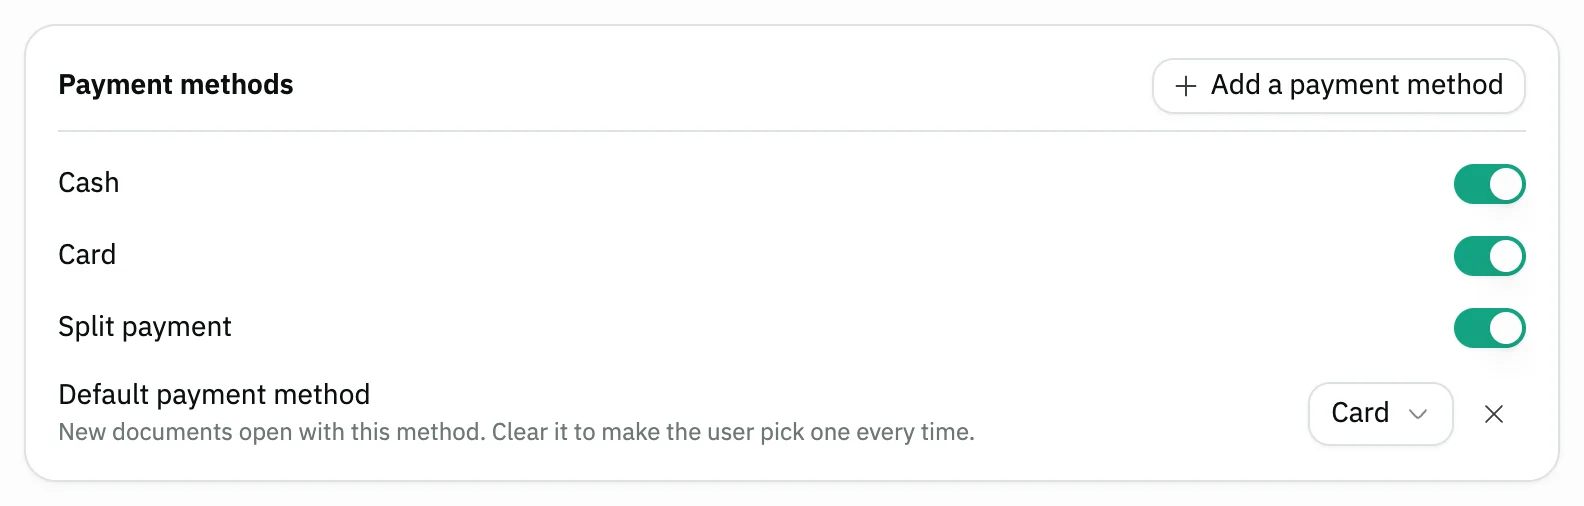
Image key - The Add a payment method button
- The Cash and Card switches
- Default payment method
Step 5: Turn on the order type
Turn on Order type (dine in / takeaway / delivery) so the cashier picks an order type on every sale, and it prints on the receipt. Details
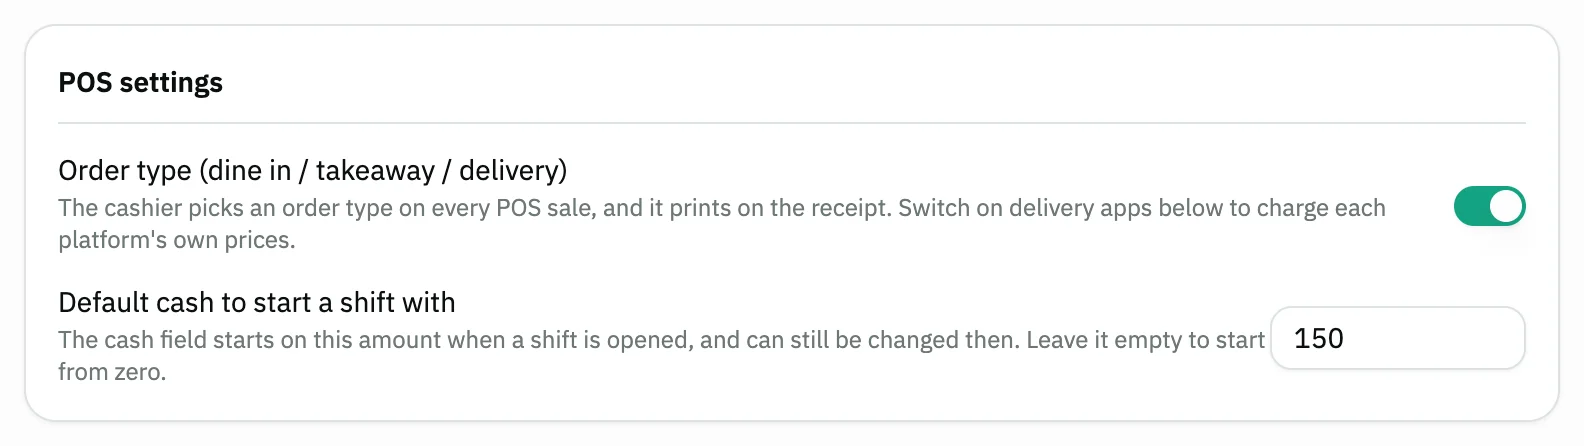
Image key - The Order type (dine in / takeaway / delivery) switch
Step 6: Set the opening cash
In the POS settings card, enter the Default cash to start a shift with. The cash field starts on it when you open a session, and stays editable. Details
Step 7: Add preset notes
In Preset item notes, type a phrase you repeat, such as “No ice”, then press Add. The cashier adds it to any item with one tap.
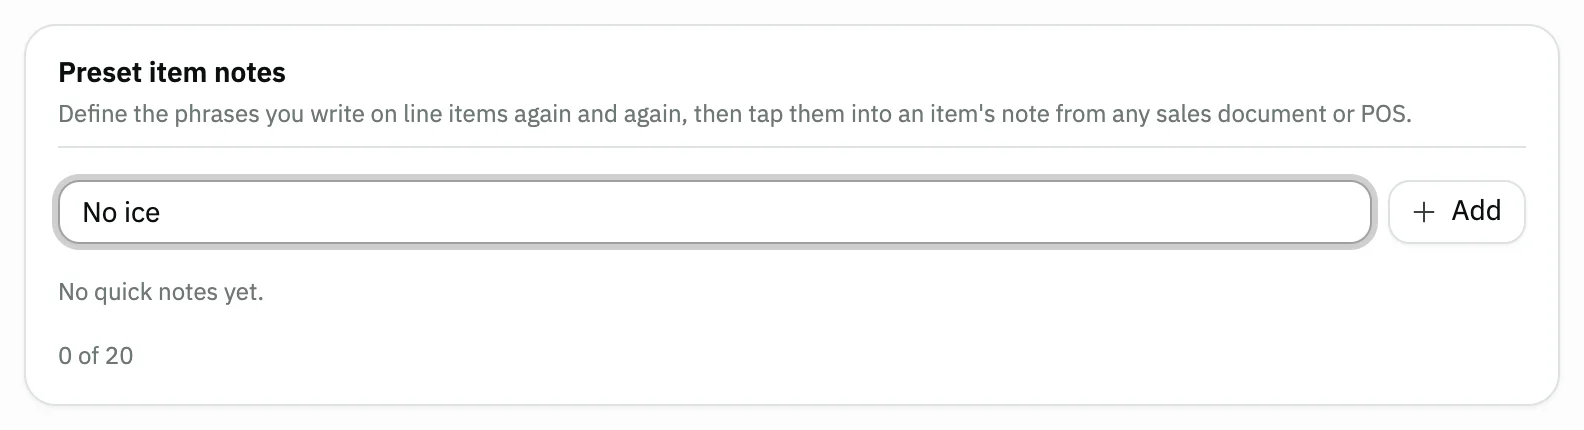
Image key - The note text field
- The Add button
Step 8: Pair a receipt printer
In Automatic receipt printing, press Add a printer and choose your printer in the browser window. Then press 2) Print a sample receipt and confirm It came out correct. Details
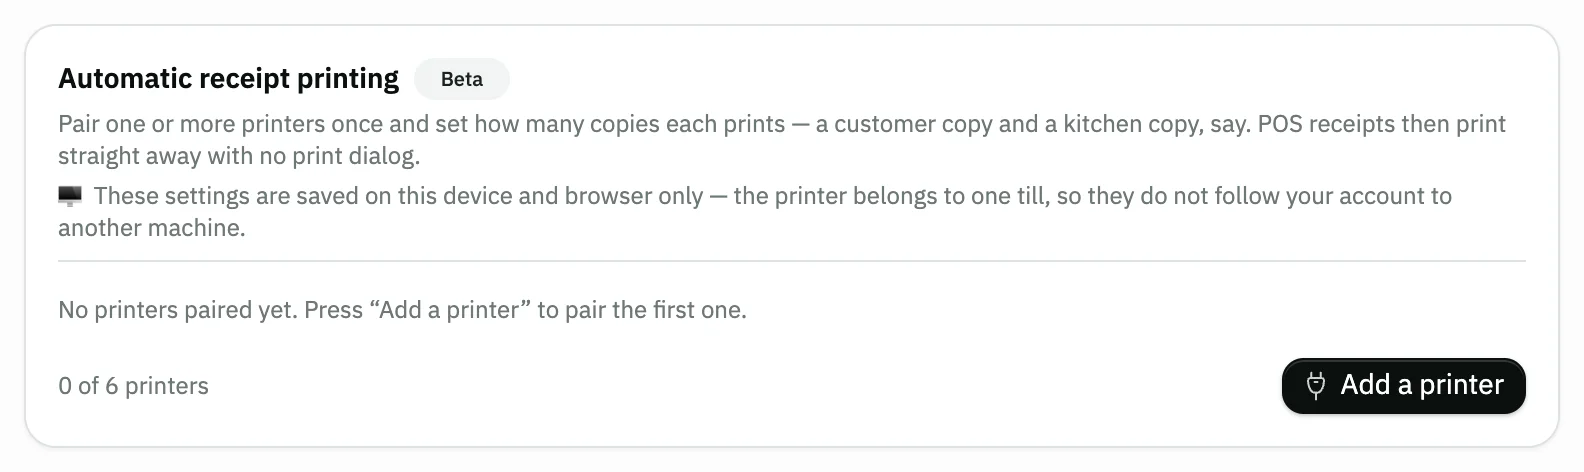
Image key - The Add a printer button
Step 9: Turn on WhatsApp sending
Under Auto-send to customers, switch on Send invoices or Send credit notes. Documents reach the customer over WhatsApp (send documents by WhatsApp) when they are created.
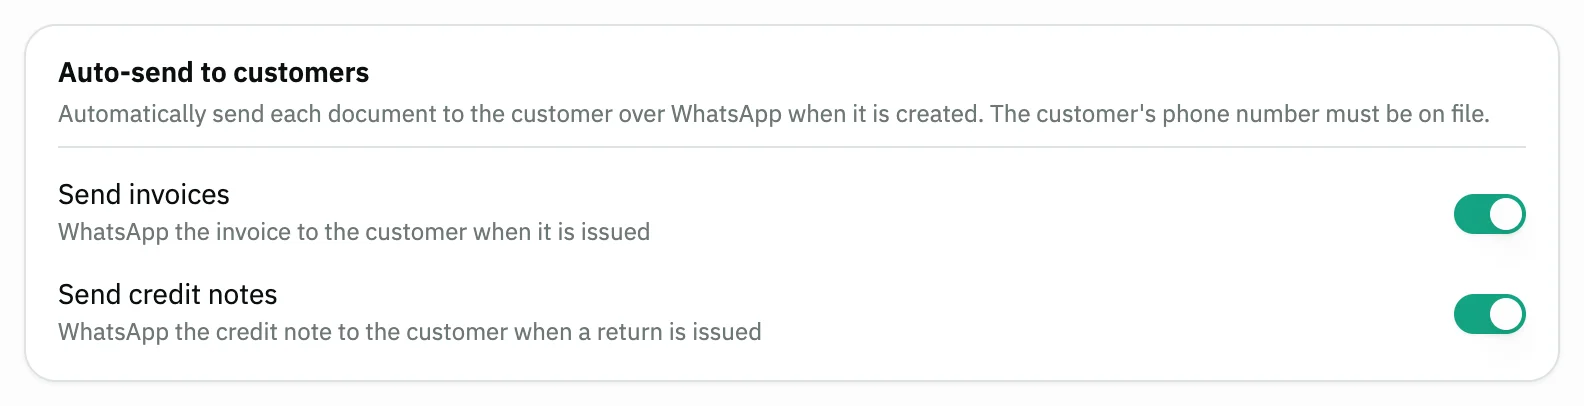
Image key - Send invoices
- Send credit notes
Messages that block saving
If saving fails, one of these messages shows next to the field. The table gives the cause and the fix.
| Message | Cause | Fix |
|---|---|---|
| «Maximum 20 notes» | The preset notes list already holds 20 notes, the most it takes. | Delete a note you don't use, then add the new one. |
| «That note is already in the list» | The phrase is already in the preset notes list. | Type a different phrase, or use the one that exists. |
| «The port is busy — close any other printing program using the printer and try again» | Another program is connected to the printer during the test. | Close that program and press the test button again. |
| «Could not send to the printer. Check that it is connected and switched on» | The printer is unplugged or switched off. | Plug the printer in, switch it on and run the test again. |
Advanced details
Each section here explains one point from the steps in depth. Every section has a fixed link you can share.
The business sector and what it changes
The first time you enter POS, a screen asks “What kind of business is this?”. Choose Retail, Restaurants & cafés, Grocery or Other, then press Confirm.
This screen no longer shows once you confirm. You change the sector from the POS business sector card on this page.
Choosing Restaurants & cafés turns on the kitchen screen, halls and tables, and the order type. Every other sector is a plain register.
Snad saves the choice as soon as you change it and refreshes the sidebar, so the tabs appear or disappear without signing in again.
The kitchen threshold takes 1 to 180 minutes. After it, the ticket turns red on the kitchen screen and an alert sounds. See using the kitchen display, and build your halls in managing restaurant tables.
Delivery apps and their prices
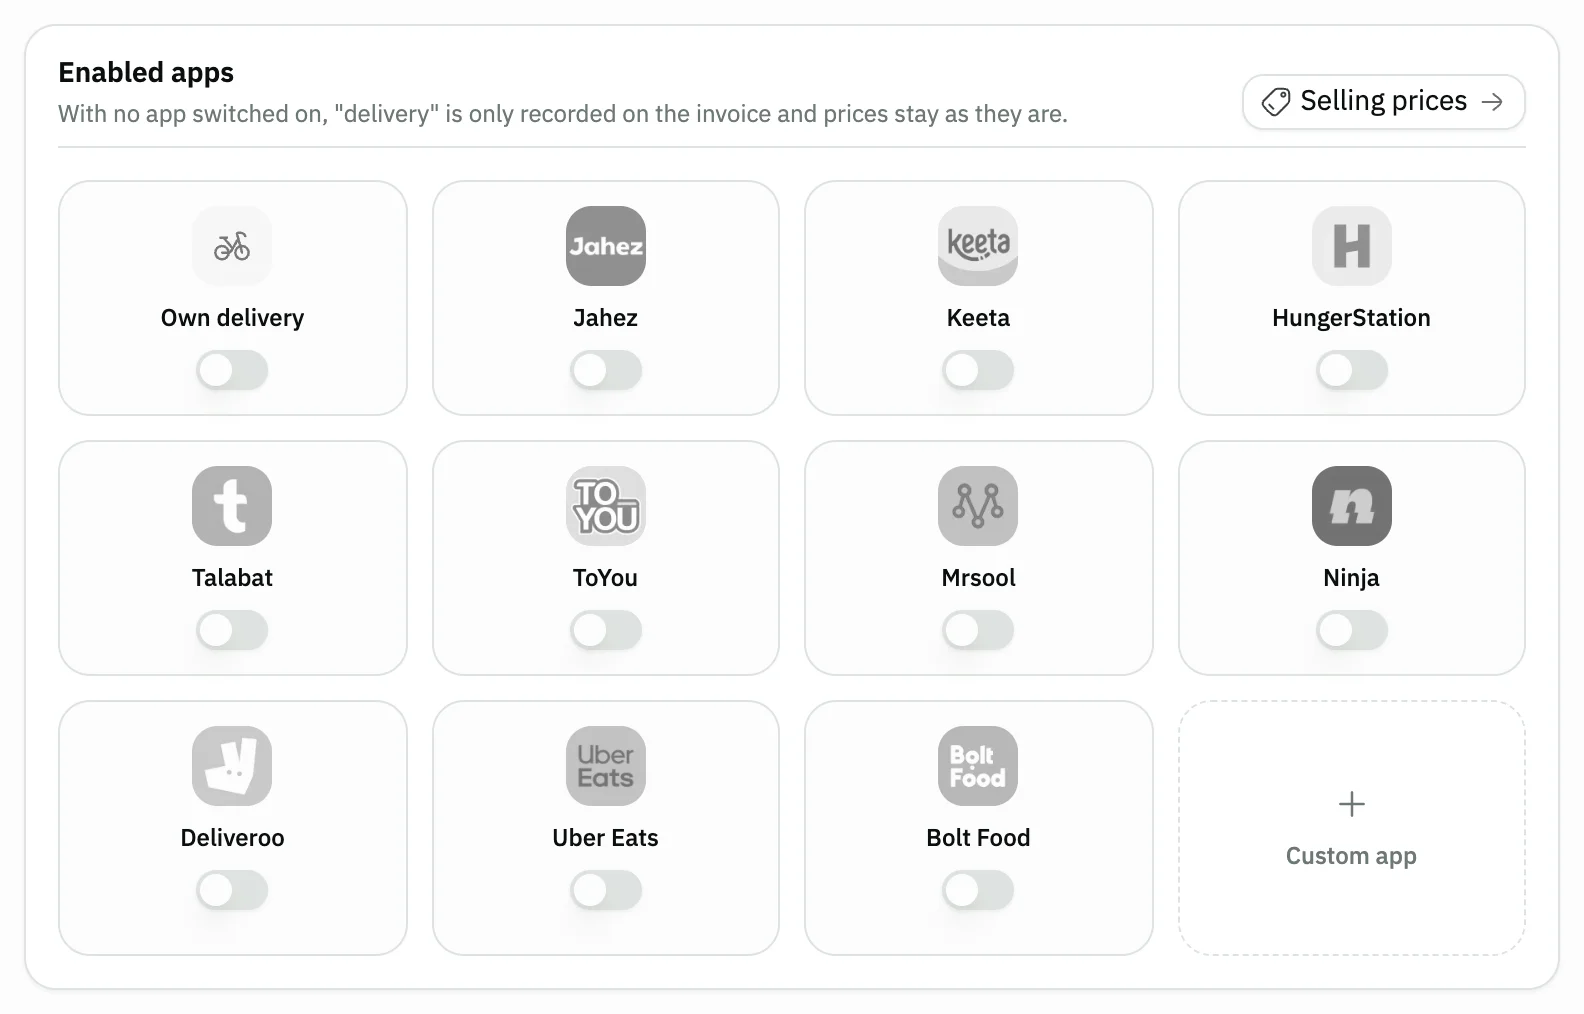
When Order type (dine in / takeaway / delivery) is on, an Enabled apps card appears, with a logo and a switch for each delivery app.
If you switch an app on, picking “delivery” in POS asks which app and charges that app's prices. With no app on, “delivery” is only recorded on the invoice and prices stay as they are.
The Selling prices link opens the delivery prices page (delivery pricing), and the Custom app button adds an app that is not in the list.
- The Selling prices link
- The Custom app button
Direct printing: copies and print type
Each paired printer has a Copies field and a What it prints list: the Customer receipt with prices, or a Kitchen ticket with no prices and larger type. You can pair up to 6 printers, each printing up to 5 copies.
Automatic printing stays off until you run a test print and confirm the paper came out correct. After that, POS receipts print straight away with no print dialog.
The feature is in beta and works on desktop Chrome or Edge only; elsewhere the usual print dialog opens. The printer settings are saved on this device and browser only, so they do not follow your account to another machine.
To print other documents, set up print settings, and to change the receipt's look design a print template.
Common questions
- How do I turn on tables and the kitchen screen?
- Under POS business sector, choose Restaurants & cafés. Halls & tables (managing restaurant tables) and Kitchen screen (using the kitchen display) then show in the sidebar.
- How do I make the cashier ask: dine in, takeaway or delivery?
- Turn on Order type (dine in / takeaway / delivery). Choosing Restaurants & cafés turns it on automatically, and you can switch it off on the same card. For the prices see delivery pricing.
- Do I need a Save button in the POS settings?
- No. Each switch saves as soon as you flip it, a preset note saves when you press Add, and the Default cash to start a shift with saves when you leave its field.
- Why can't I change the switches?
- Changing them needs permission to update POS settings. Without it the page is view-only. Ask for it in roles and permissions.
- Why doesn't the printer print automatically after pairing?
- Automatic printing stays off until you run the test and confirm It came out correct. It works on desktop Chrome or Edge only.