
How to create a role and set its permissions in Snad
To create a role in Snad, press Settings then Roles, and press New role. Enter the Name, open each group and tick View page, Create, Update and Delete for what the role needs, then press Save.
In this guide6
Steps
Step 1: Open the roles screen
Press Settings at the bottom of the sidebar and it turns into the settings menu. Then choose Roles.
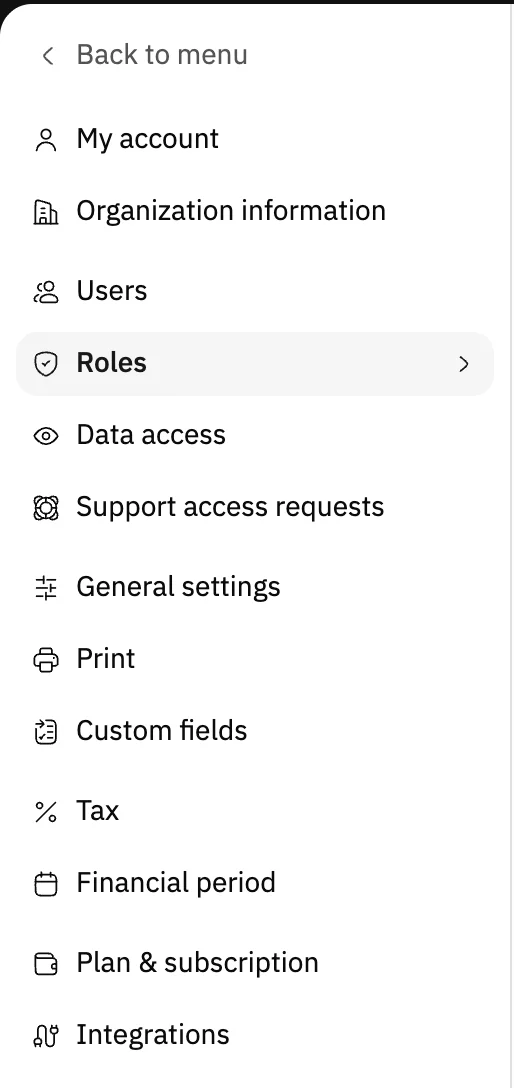
Image key - Roles in the settings menu
Step 2: Press New role
The table lists your business roles and the number of Users on each. Check that a role with the same purpose does not exist, then press New role. Details
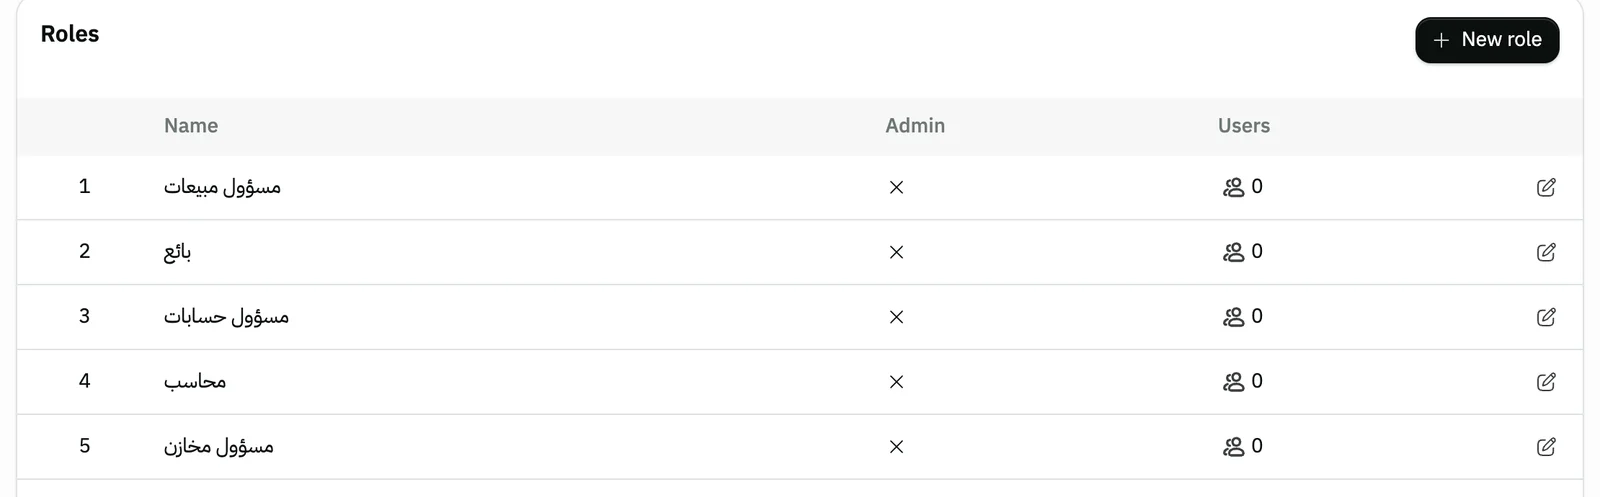
Image key - The New role button
- The roles table
Step 3: Name the role
Type a Name of at least three characters, and make it a job, not a person, such as “Sales supervisor”. The role starts with no screen permissions, and Select all and Unselect all switch every box except the AI assistant group. Details

Image key - The Name field
- The Select all button
Step 4: Open a permission group
Under the name are groups, one per area of the program. Click a group title such as Sales to open it, or tick its box to grant everything inside. Details
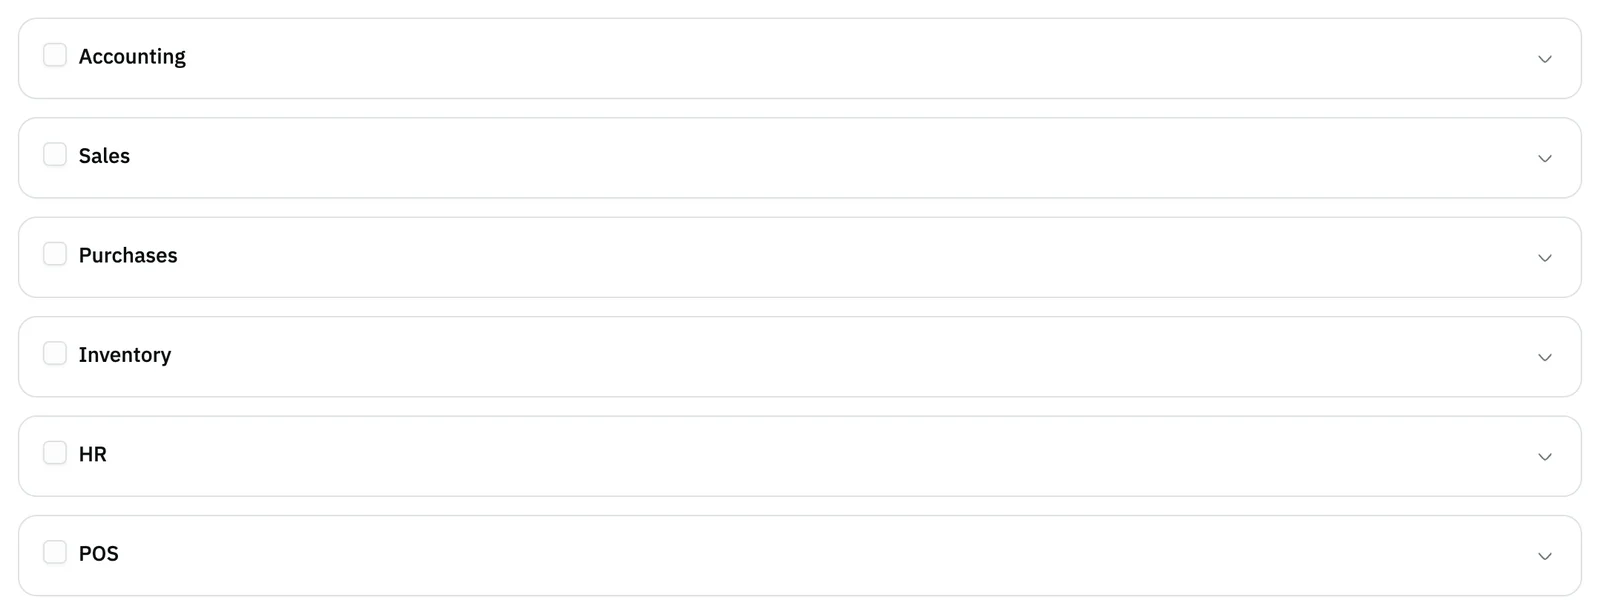
Image key - The whole-group box
- The group title
Step 5: Choose what the role can do
Each screen row has View page, Create, Update and Delete boxes. Tick only what is needed. Ticking any box other than view also ticks View page. Details
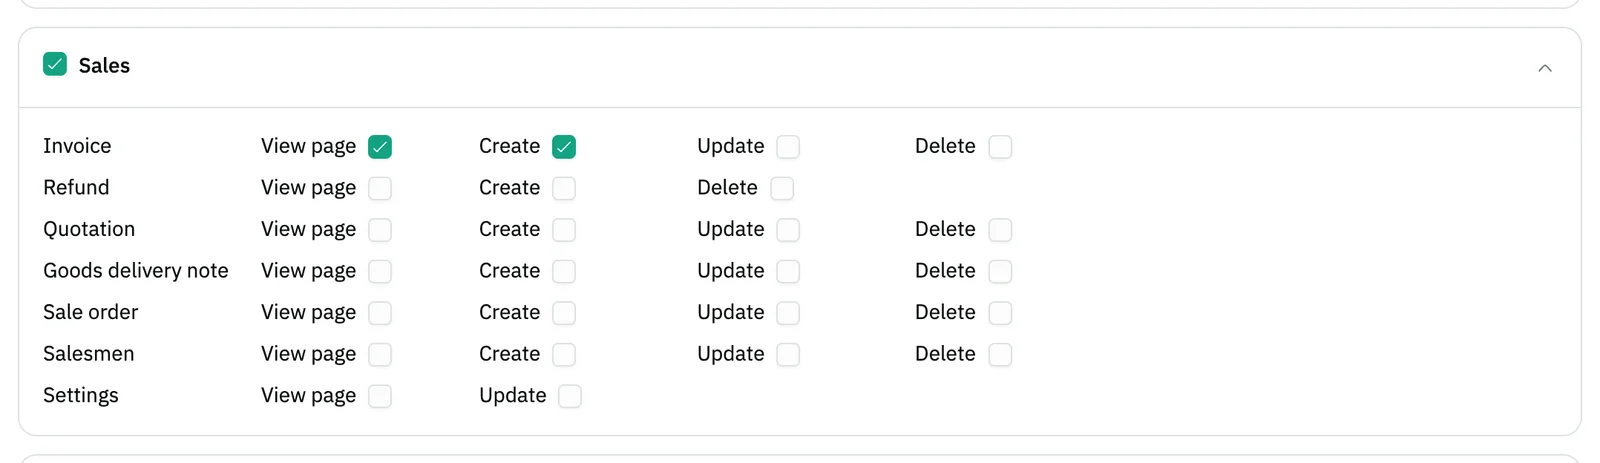
Image key - The group box, now ticked
- The View page box
- The Create box
Step 6: Save the role
Press Save at the top of the form. The program returns to the roles table and adds the new role at the end. Nobody holds it until you assign it to a user. Details

Image key - The Save button
Messages that block saving
If saving fails, one of these messages shows next to the field. The table gives the cause and the fix.
| Message | Cause | Fix |
|---|
Advanced details
Each section here explains one point from the steps in depth. Every section has a fixed link you can share.
How do groups and boxes work?
A group's box ticks or clears all the boxes in its rows at once. Ticking any box inside a group ticks the group's own box.
The groups can differ from one business to another, because the program does not show a group for a section the merchant cannot open, and your apps depend on your plan.
The AI assistant group opens no screen. It sets what AI Mode answers for the role holder, as described in “What does AI answer for this role?” below.
Editing attendance and editing products need a permission in your role as well.
Examples of specific permissions are refunding point-of-sale orders, editing their settings, designing dining rooms, and the two kitchen screen permissions.
The permission to view general settings opens screens such as general settings and tax, and AI Mode shows only what your role's permissions allow, including reports.
What does AI answer for this role?
In the AI assistant group you choose what AI Mode answers for the role holder. If you clear Use AI Mode, the role holder cannot open AI Mode at all.
Under What AI can answer about you pick the areas, such as Sales and HR. Under Sensitive figures you hide figures such as Cost prices and Profit and margins.
AI never answers what the role's screen permissions block. This group can only hide more from AI; it never opens anything new to the role holder.
Under Actions and approvals, Prepare and run actions lets AI prepare an action and run it after confirmation. Run financial actions through the assistant and Submit ZATCA documents through the assistant stay separate approvals.
The group's boxes start ticked on every role except the two approvals, and an admin role sees everything, so its boxes show locked. When you edit a saved role, the What AI sees for this role table shows the result for each area.
The table shows the saved role, so save your changes first. Closing an area stops new answers only; earlier answers stay in old conversations.
Editing an existing role
Click the edit icon on the role's row in the table to open Update rule, change the boxes, then press Save.
If you tick every group, the role becomes an admin role and a tick shows in the Admin column of the table. The AI assistant group does not count toward this.
The account owner's role never loses its admin status, so the program refuses a save that would remove it. Only the account admin's role opens support access requests. If you edit your own role, the changes apply to your session at once.
The save does not go through
If the name is shorter than three characters, the message “يجب أن يحتوي النص على 3 حرف على الأقل” shows under the field and nothing is sent. It appears in Arabic even in the English interface.
If the server refuses the save, its message shows in a notice at the top of the page and the form stays open with what you entered.
Common questions
- How do I create a new role in Snad?
- Press Settings then Roles, then New role. Enter the Name, tick the permissions in the groups, then press Save.
- What is the difference between View page, Create, Update and Delete?
- View page only opens the screen. Create, Update and Delete allow adding, editing and removing records on it, and ticking any of them ticks View page too.
- How do I give a user this role?
- From Settings then Users: when you create or update the user, pick the role in the Permission field. The details are in the add a user guide.
- Can I edit a role after creating it?
- Yes. Click the edit icon on its row in the roles table, change the boxes and press Save. The change applies to everyone who holds the role.
- How do I hide cost and profit from AI for one role?
- Open the role, and in the AI assistant group clear Cost prices and Profit and margins under Sensitive figures, then press Save. What the role holder sees on screen does not change.