
How to create a journal entry in Snad
To create a journal entry in Snad, open Accounting, then Journal entry, and press Create journal entry. Add the accounts with Add account, enter Debit or Credit on each line until it shows Balanced, then press Save.
In this guide6
Steps
Step 1: Open the entries screen
In the sidebar, choose Accounting, then Journal entry, and press Create journal entry above the list.
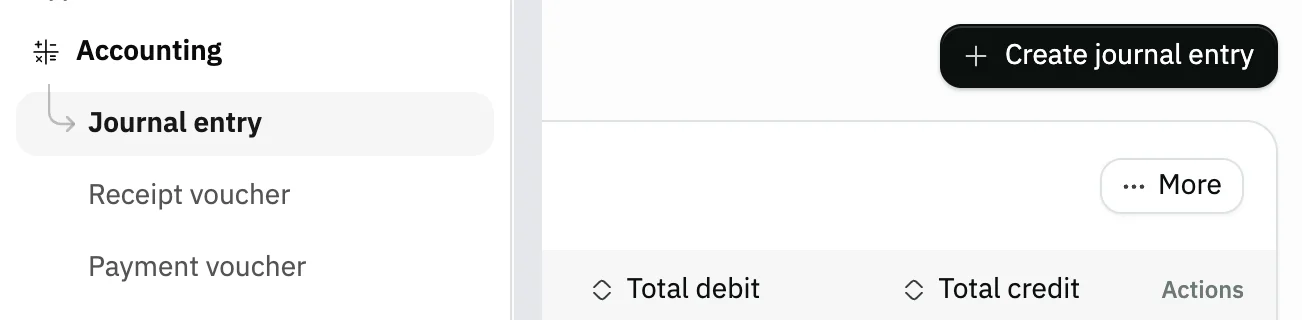
Image key - Journal entry in the sidebar
- The Create journal entry button
Step 2: Check the date and branch
In Main information, Date starts on today and you can change it. Branch and Warehouse are optional (add a branch, add a warehouse); pick them to tie the entry to them.
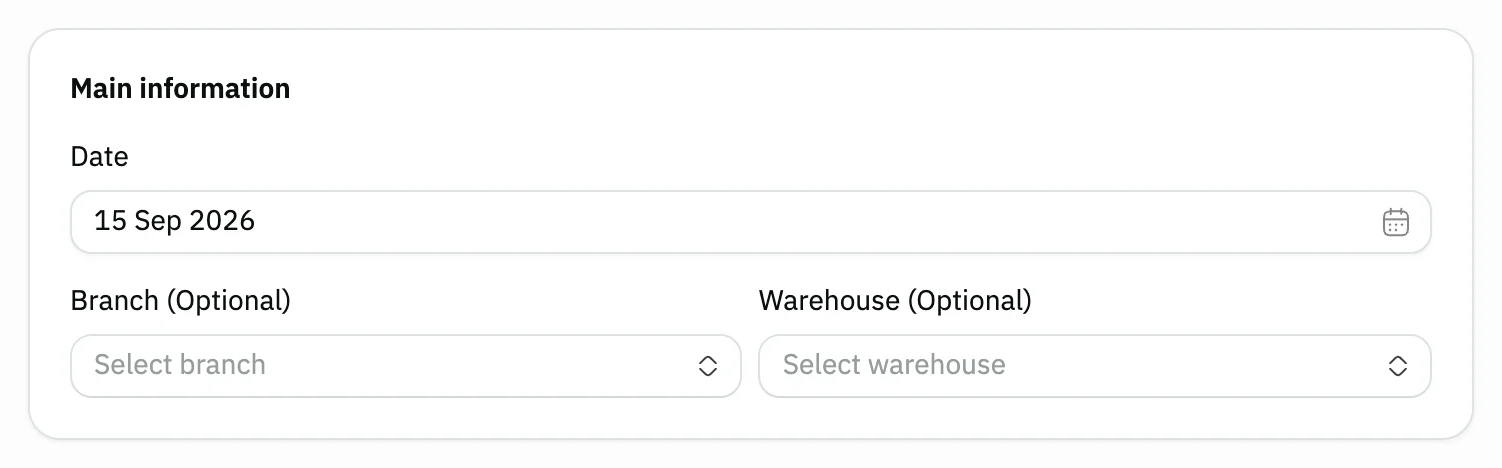
Image key - The entry Date
- Branch (optional)
- Warehouse (optional)
Step 3: Add the accounts
In the Accounts card press Add account, search by name, tick the accounts you need, then press Apply. Each account becomes a line. Details
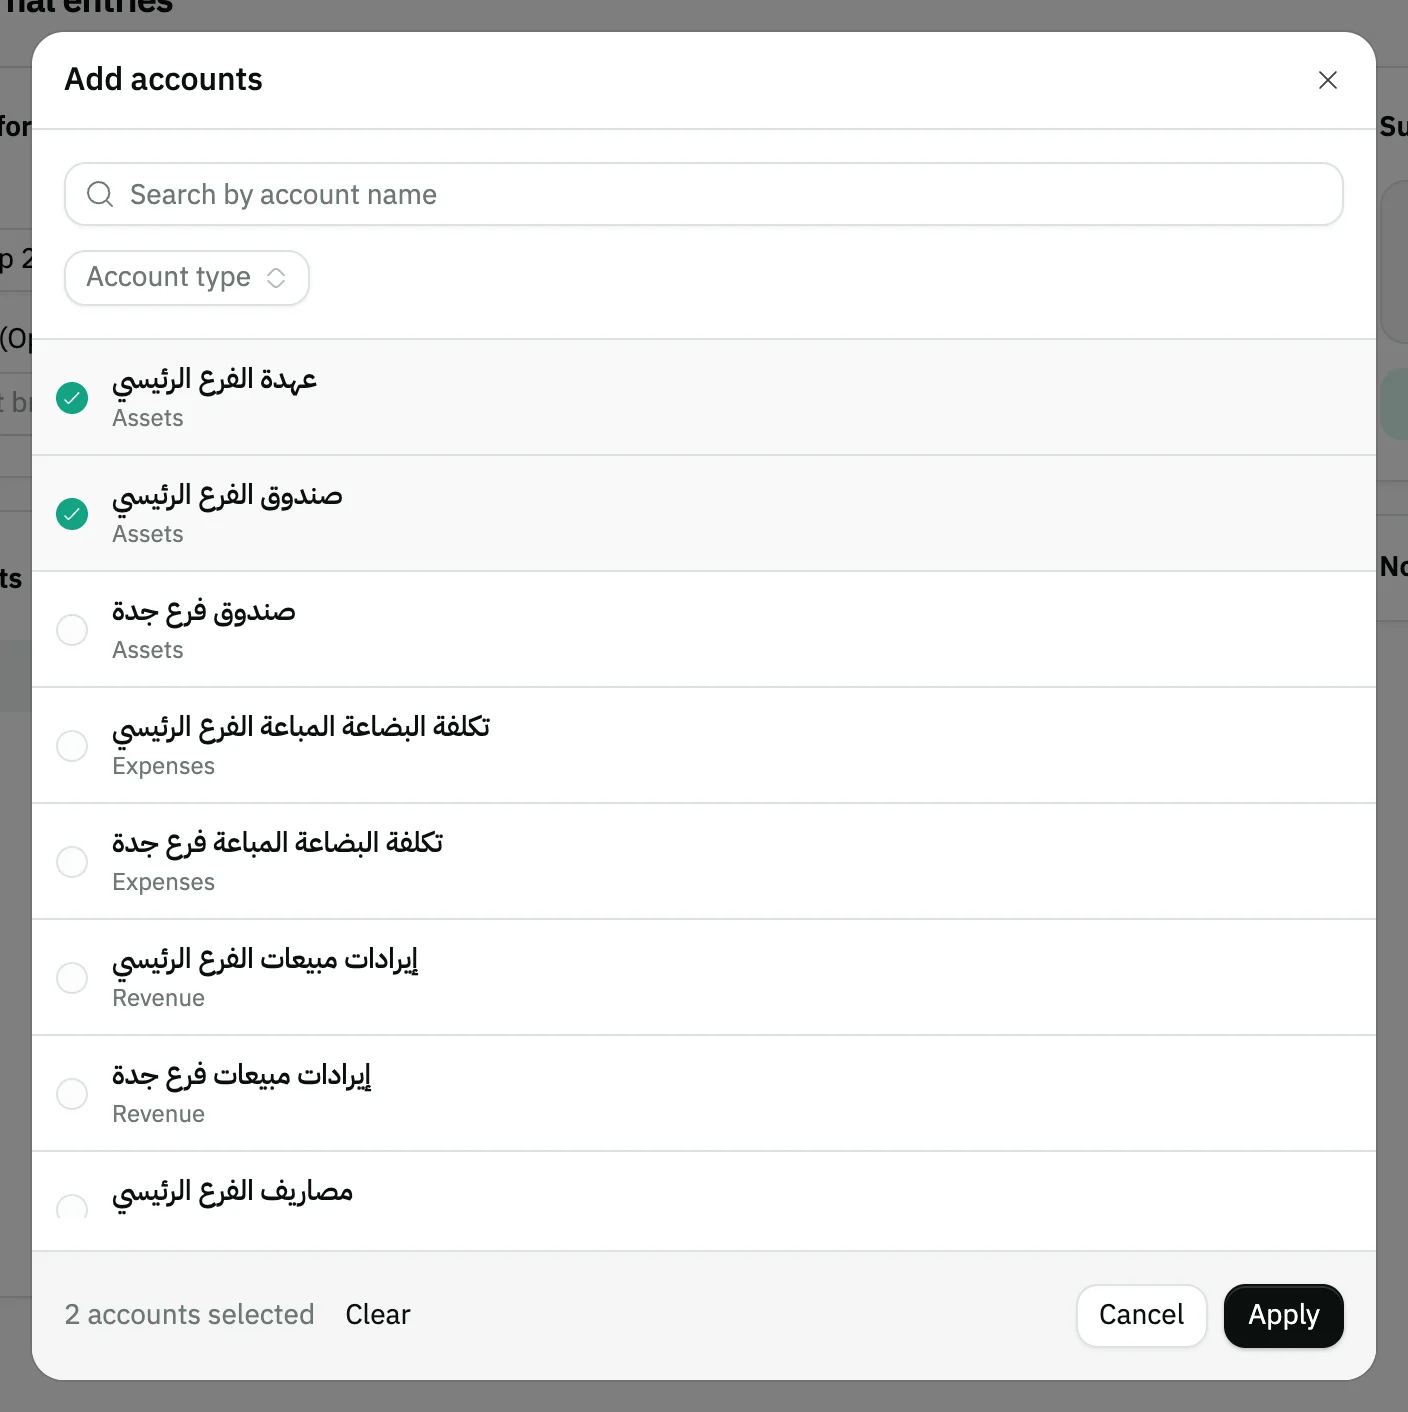
Image key - Search by account name
- Filter by Account type
- A ticked account
- The Apply button
Step 4: Enter debit and credit
On each line, enter the amount in Debit or in Credit. Once one side has an amount, the other side locks. Details
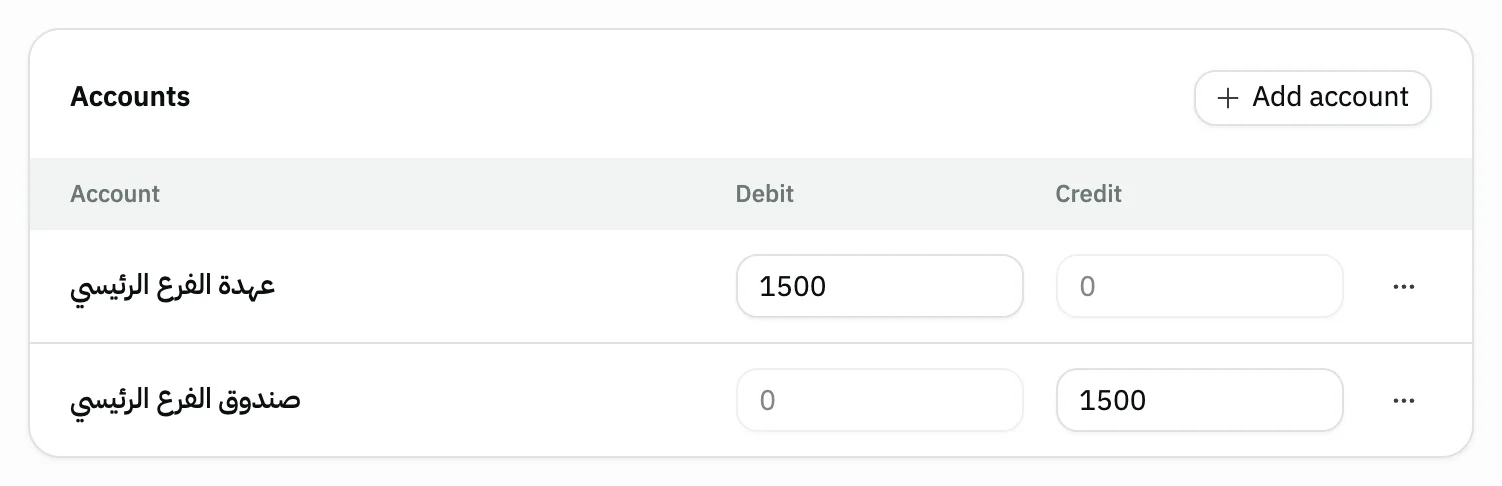
Image key - Debit
- Credit
Step 5: Make sure it balances
In the Summary, compare Total debit with Total credit. Balanced shows when they match; otherwise the Difference shows.
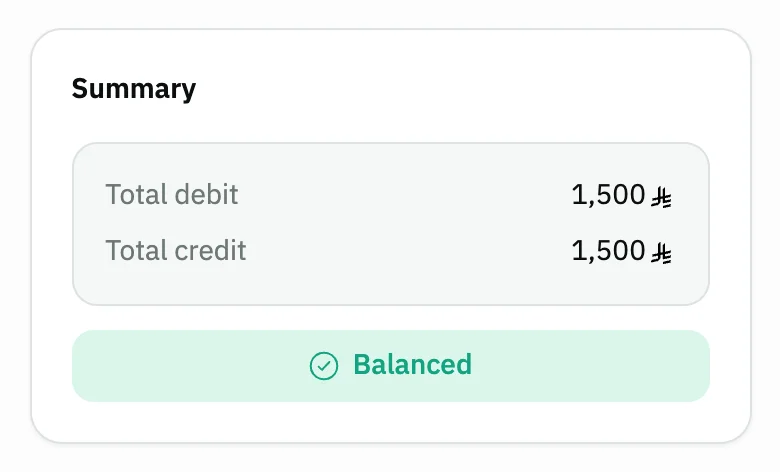
Image key - Total debit and Total credit
- The Balanced badge
Step 6: Save the entry
Add a Description if you like, then press Save. The saved entry page opens and the account balances update right away. Details
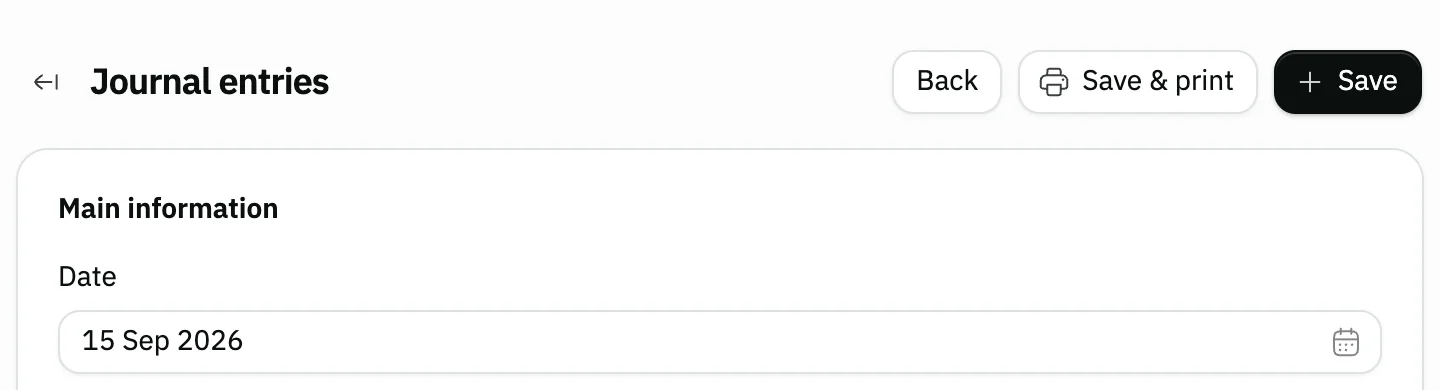
Image key - The Save button
- The Save & print button
Messages that block saving
If saving fails, one of these messages shows next to the field. The table gives the cause and the fix.
| Message | Cause | Fix |
|---|---|---|
| «Select account» | The entry has no lines, or a line has no account picked. | Add at least one account with Add account and pick an account for every line. |
| «Total debit and credit are not equal» | The sum of Debit does not equal the sum of Credit. | Edit the amounts until the Balanced badge shows in the Summary. |
Advanced details
Each section here explains one point from the steps in depth. Every section has a fixed link you can share.
Picking accounts in the window
The window lists sub-accounts only, the ones an entry is posted to. An account already on the entry is not offered again.
The first 20 accounts show as soon as the window opens, and the rest load as you scroll down. Search is optional and covers all the organization's accounts, with a loading indicator while it fetches. If loading fails, an error line appears with Retry beside it.
The Account type filter takes one type at a time, and no account counts show beside the types.
To swap the account on an existing line, click the account name on that line. The window opens titled Change account.
Reference and identification on a line
Each line can carry an optional Reference and Identification, such as a document number or a party name. Open them from the line's Actions menu, in the Reference & identification window.
Type both values and press Done. They show under the account name on the line.
The same menu has Remove line.
Description and attachments
The Notes and attachments card holds the Description and the entry's attachments. Open it by clicking its title and add what you need before saving.
Custom fields on the entry
Your organization can add its own fields to the journal entry. Open the Customizer and choose Journal entry under Accounting, then press the place for the field: Bottom of the entry details under the main information, or End of the journal entry after the account lines, and press Add field. The form is listed when the Accounting app is on.
The fields show in the entry form where you placed them. If you tick a field Required, a new entry is not saved until it is filled, and the message “Fill in the required custom fields” shows. The rule does not stop saving an edit to an existing entry.
A field with Print on documents ticked shows when you print the entry from its page. One with Show in list ticked shows as a column in the journal entries list.
A journal entry does not accept the Automatic number and Calculated value types; every other type works in it.
Custom fields are data saved with the entry only. They do not change its amounts or the account balances. An entry that a recurring template creates does not copy custom fields.
Common questions
- Can one line hold both debit and credit?
- No. Once you enter an amount in Debit, Credit locks on that line, and the other way round. For both on one account, give it two lines.
- Why won't Snad save my journal entry?
- Usually the totals differ or a line has no account. Check the Summary: Snad does not save until it shows Balanced.
- Does the entry change account balances right away?
- Yes. When you press Save, Snad adds each line's debit and credit to its account and the balances update immediately; you can see them in the trial balance or an account statement.
- How do I repeat the same entry every month?
- Don't retype it. Create a template once in recurring entries and Snad raises the entry on its dates.
- When should I use a journal entry instead of a receipt or payment voucher?
- Use a journal entry when you choose the debit and credit accounts yourself. Money coming into or going out of the cash account has the receipt voucher and the payment voucher.