
How to add a branch in Snad
To add a branch in Snad ERP, open Branches in the sidebar and press New branch. Enter the Name, add the Commercial record, Country and City if you want, then press Save. The Suggested accounting setup window opens next: press Create and link or Later.
In this guide6
Steps
Step 1: Open the branch list
In the sidebar, choose Branches, then press New branch above the list. Details

Image key - Branches in the sidebar
- The New branch button
Step 2: Enter the branch details
Enter the Name, the only required field. If you like, add the Commercial record (as in your company's details) and pick the Country and City. Details
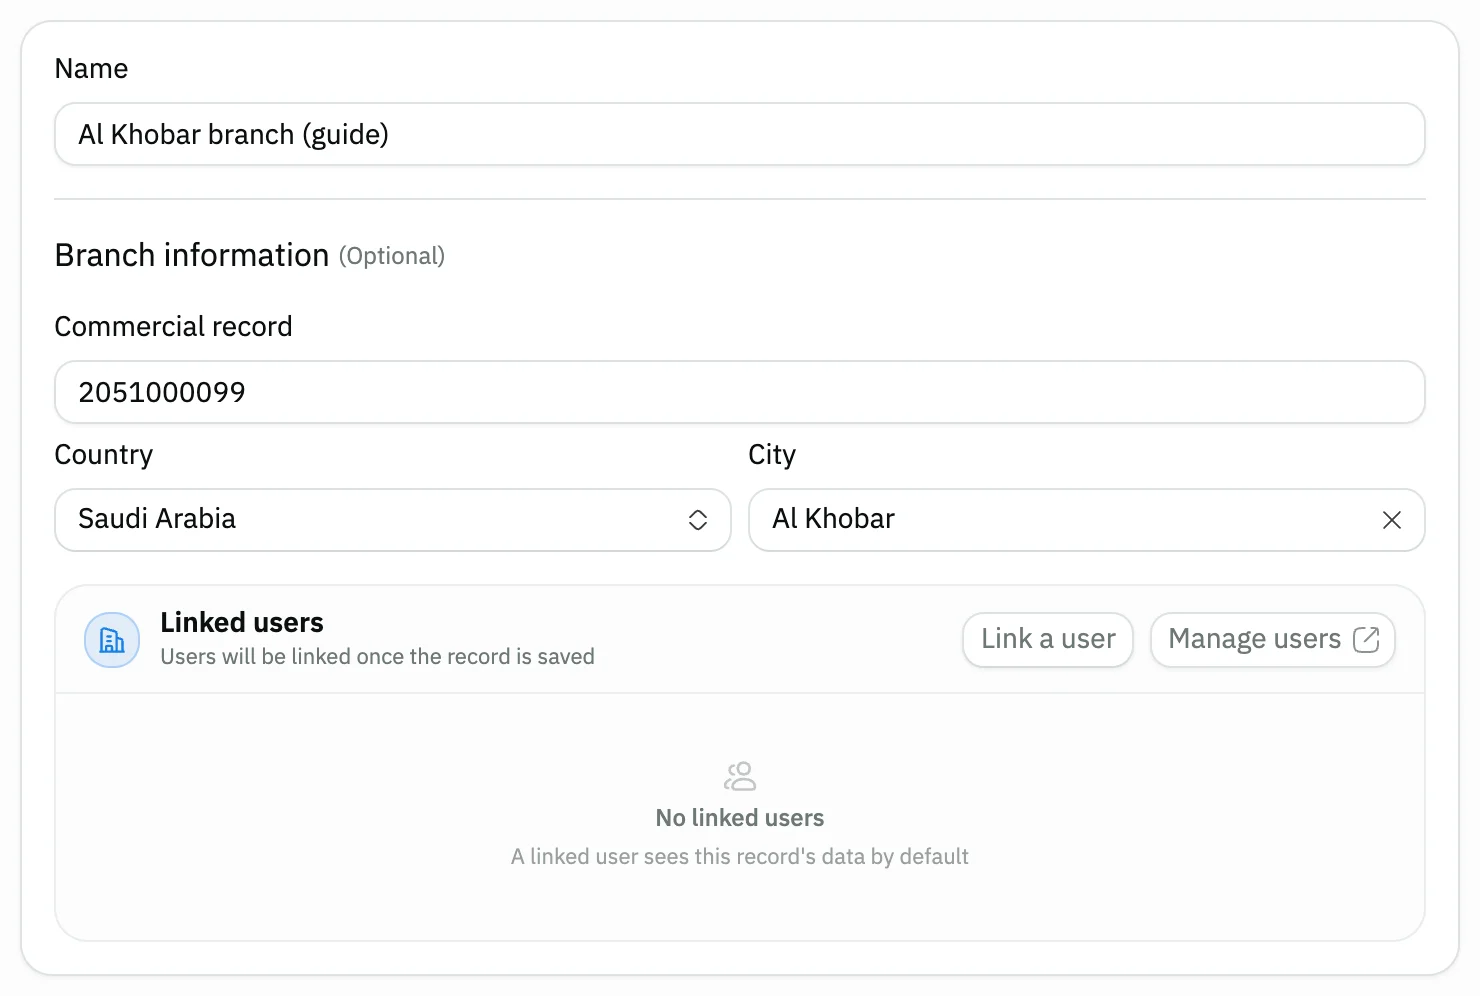
Image key - Name (required, 3 characters or more)
- Commercial record (optional)
- Country: starts on your company's country
- City
Step 3: Link a user to the branch
This step is optional. Under Linked users, press Link a user and pick whoever works at this branch. Details
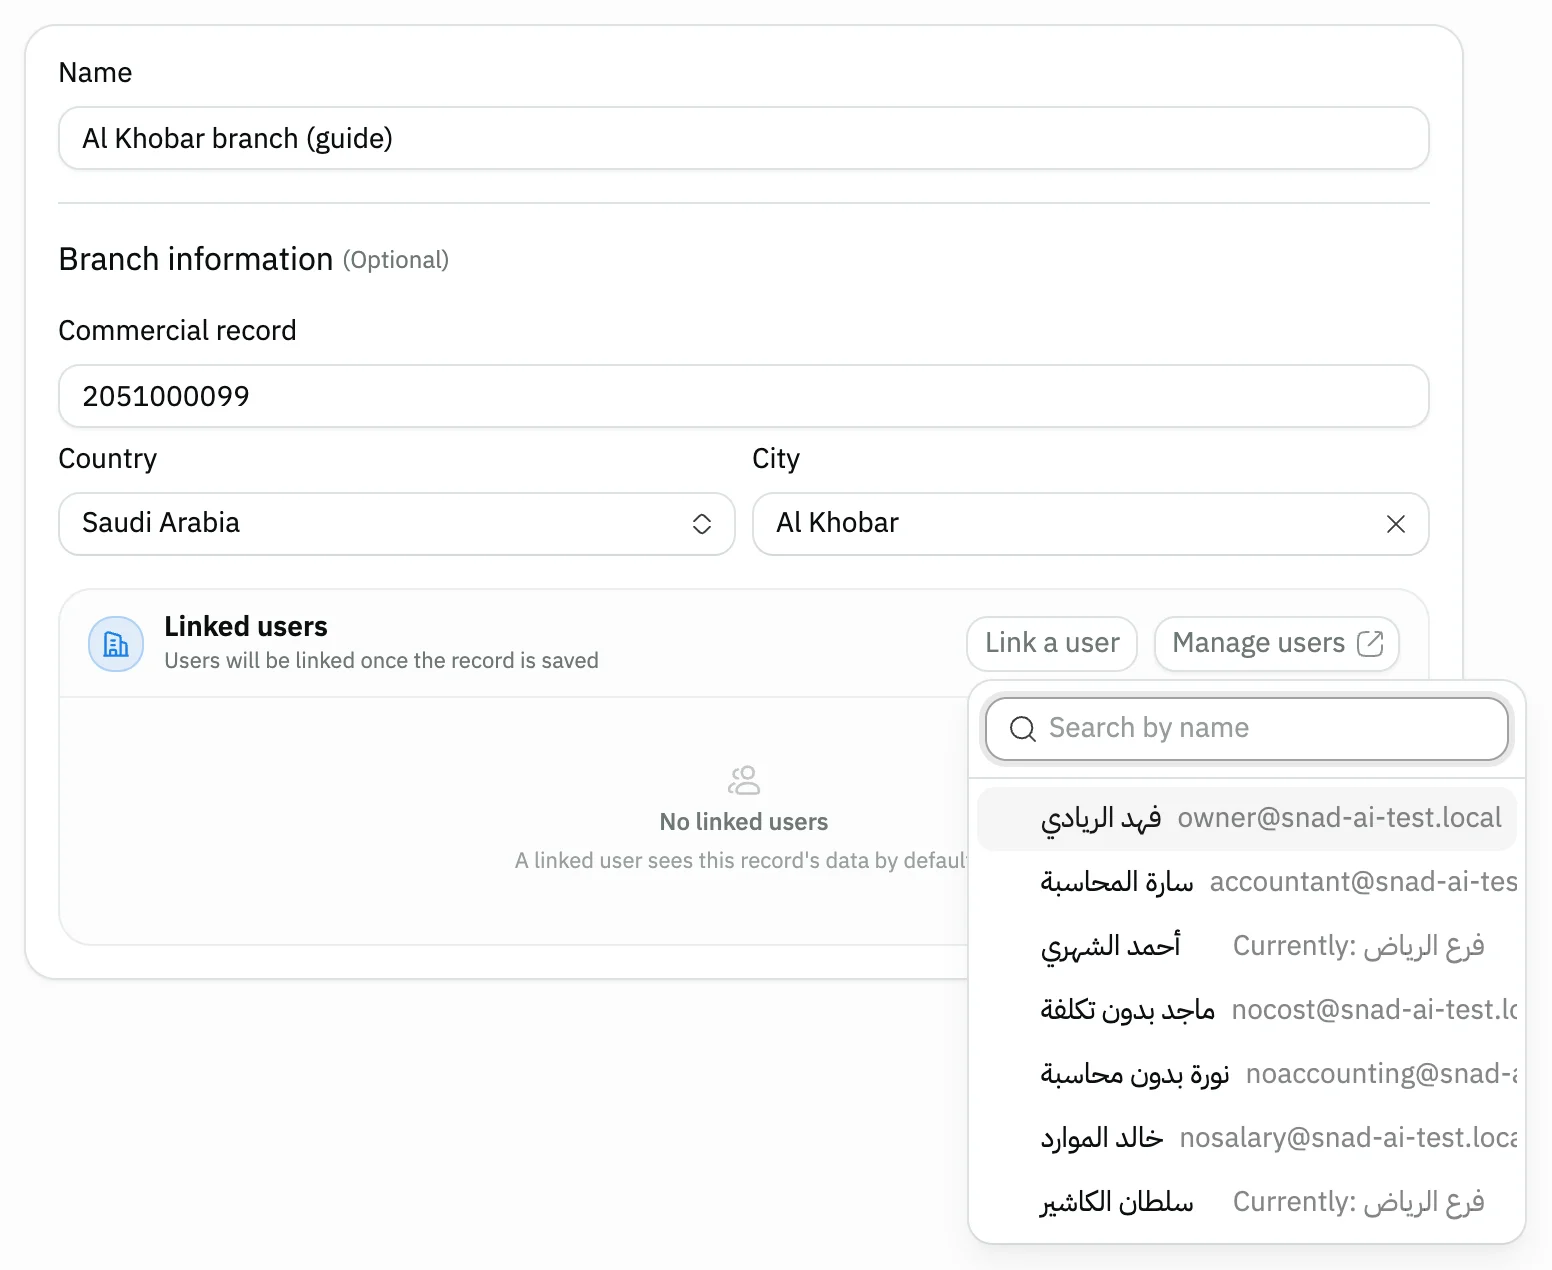
Image key - The Link a user button
- The user you want
Step 4: Save the branch
Press Save at the top of the form. If you change your mind, press Back to return to the list without saving.
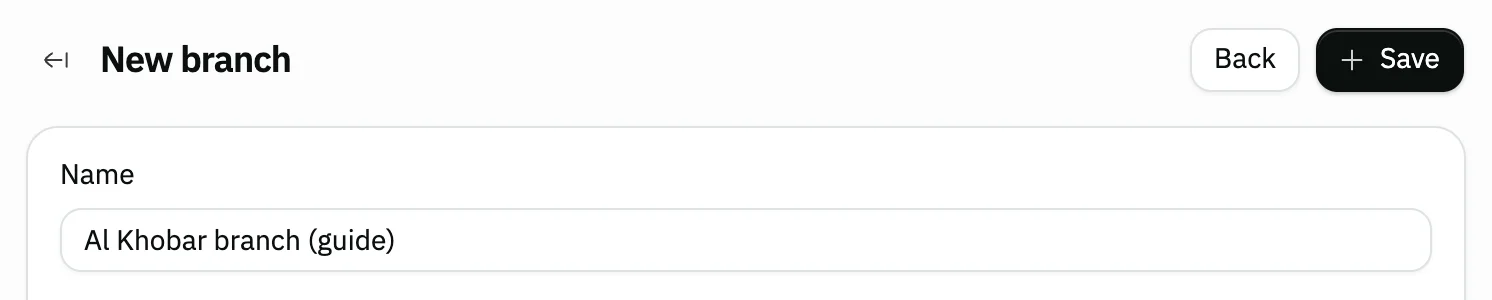
Image key - The Save button
- The Back button
Step 5: Review the accounting setup
After saving, the Suggested accounting setup window opens with proposed accounts for the branch (accounting settings). Review them and press Create and link, or Later to finish another time. Details
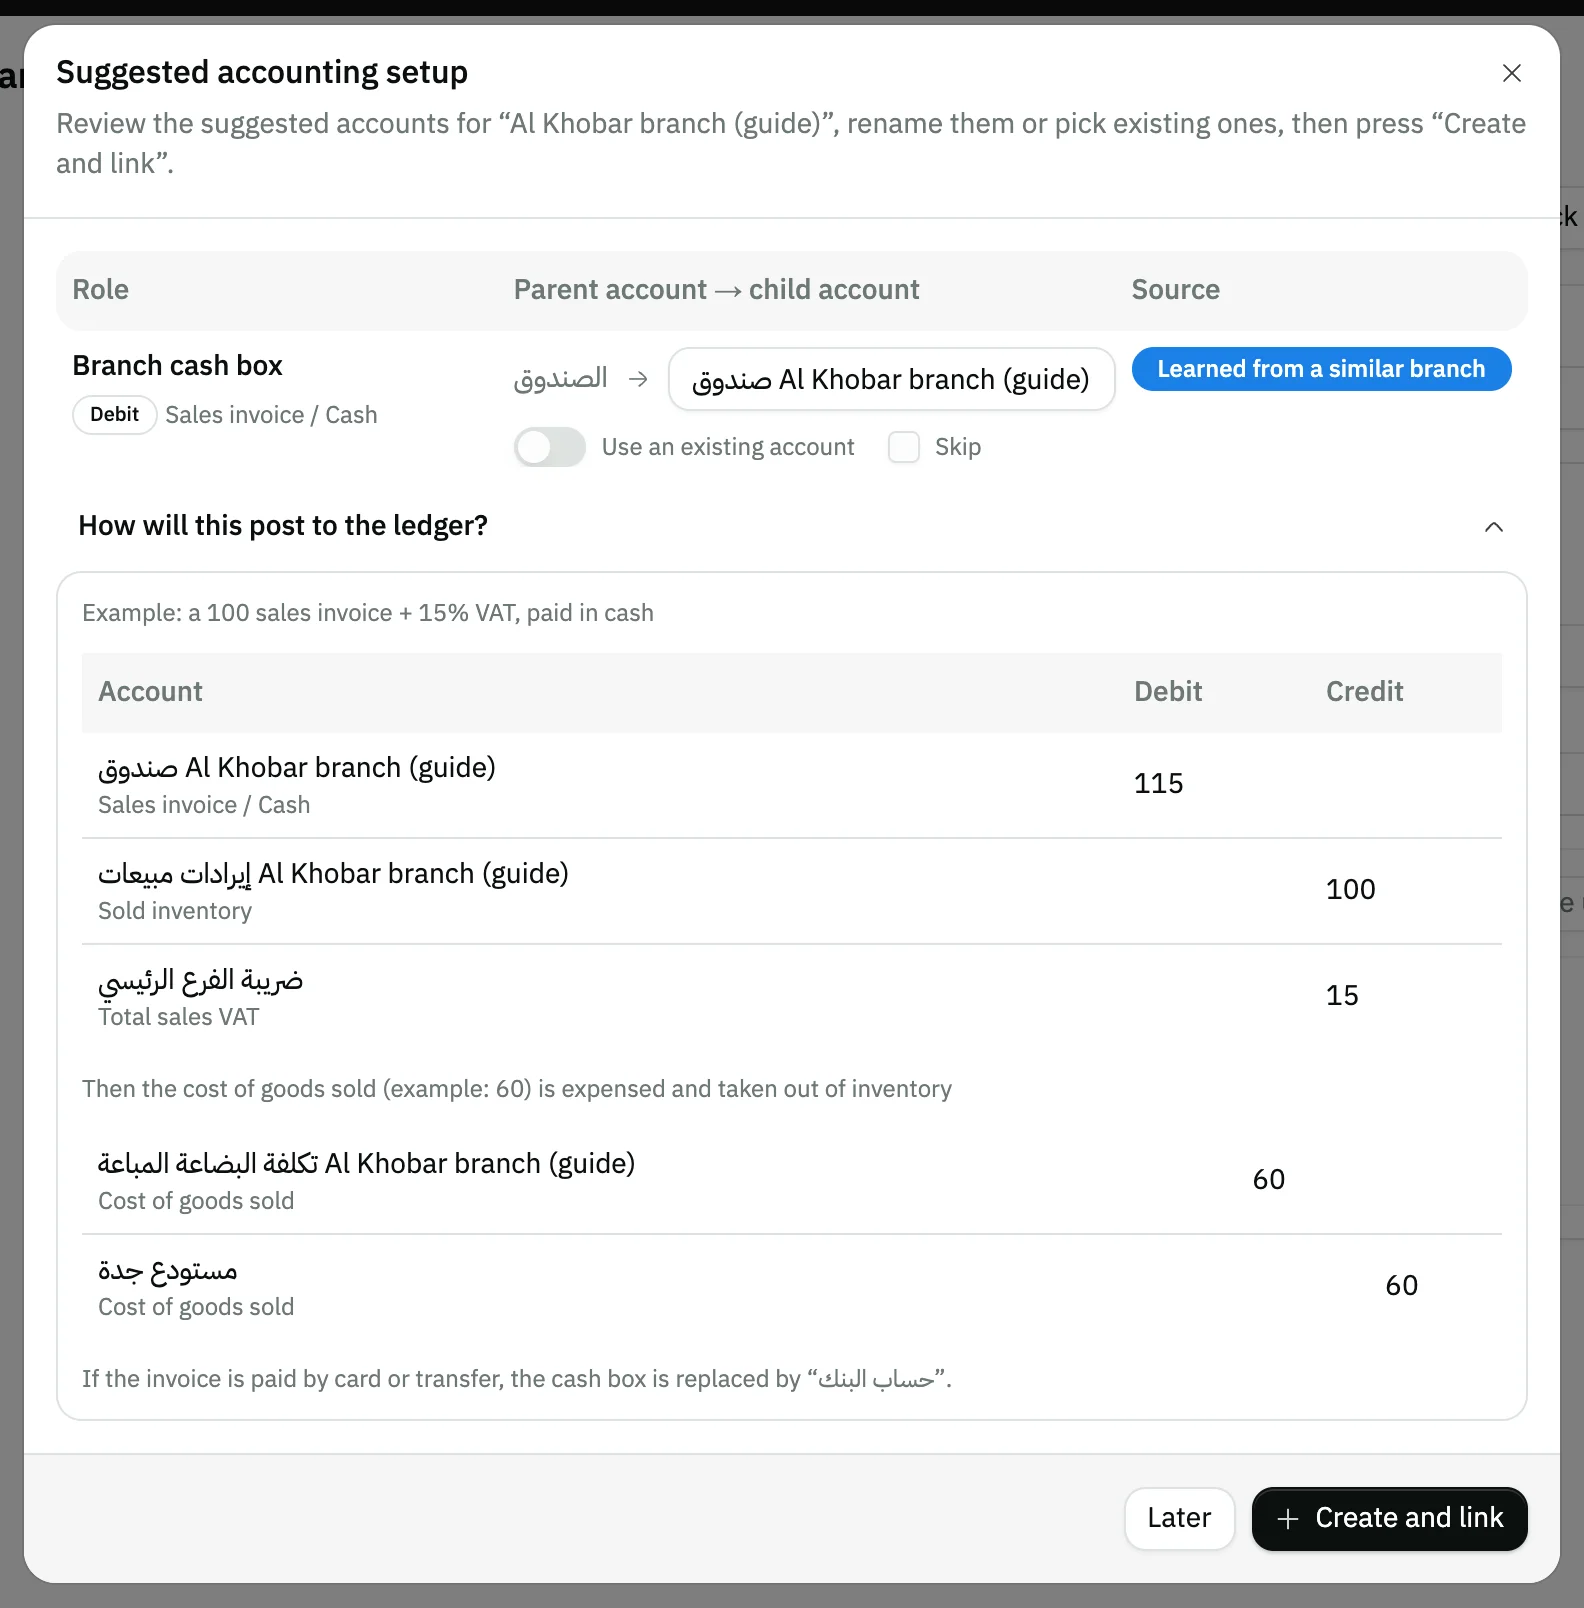
Image key - The Create and link button
- The Later button
Step 6: Check the branch is listed
You return to the branch list, where the new branch shows with its name, commercial record and city. You can now pick it on your invoices, point-of-sale sessions and documents. Details
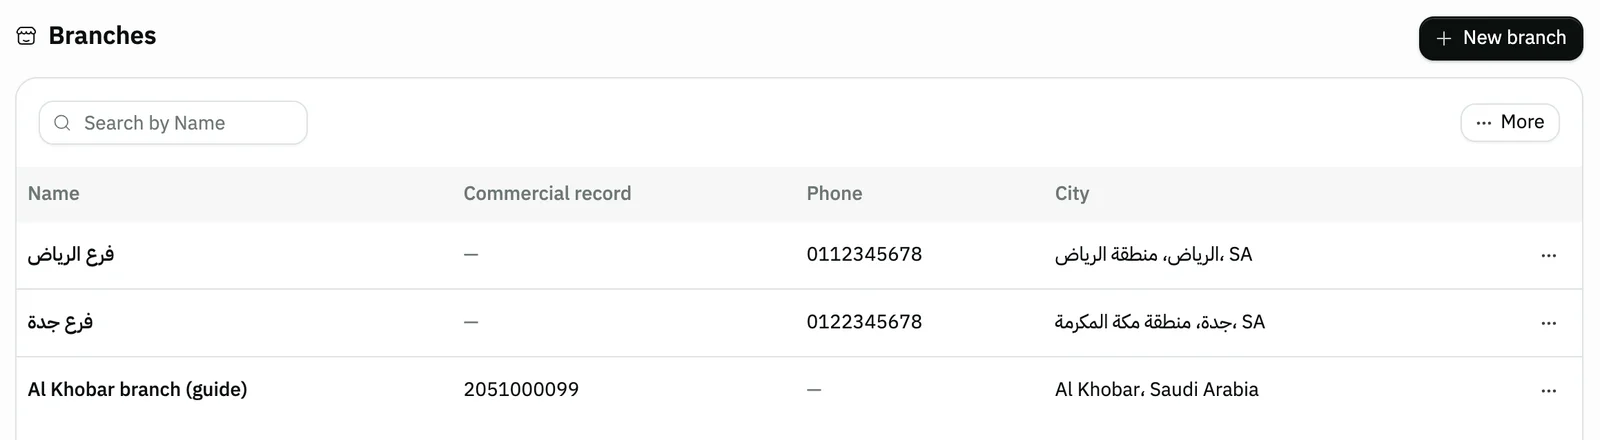
Image key - The new branch in the list
- New branch for another branch
Messages that block saving
If saving fails, one of these messages shows next to the field. The table gives the cause and the fix.
| Message | Cause | Fix |
|---|---|---|
| «يجب أن يحتوي النص على 3 حرف على الأقل (the app shows this message in Arabic)» | The branch name is shorter than 3 characters. | Type at least 3 characters in Name. |
Advanced details
Each section here explains one point from the steps in depth. Every section has a fixed link you can share.
Which fields are required and optional
Only Name is required. Commercial record, Country and City sit under “Branch information (optional)” and can be left empty.
Country starts on your company's country. A state or region field may also show for countries with very many cities.
Custom fields for a branch
If your business added custom fields for branches, they show in the Custom fields card at the end of the form (how to add custom fields). With no field added, the card does not show.
A field marked Required blocks saving until you fill it, and “Required” shows under it. When you edit a branch, the saved values stay as they are. Custom fields are information for your team: they never change accounting entries or stock.
Linking users to a branch
The link is made once the branch is saved, and the note “Users will be linked once the record is saved” shows beside the field. A linked user sees this branch's data by default.
Can't find the user? Press Manage users to create them first; the steps are in the add a user guide.
Finishing the accounting setup later
The window proposes accounts for the branch, such as Branch cash box, and shows below them an example of how a sales invoice posts to the ledger. You can rename an account or pick an existing one before Create and link.
If you press Later, the branch stays saved without accounts, and a warning mark shows beside the accounting Settings in the sidebar.
In the accounting settings, when you pick a branch whose accounts are incomplete, the Suggested accounting setup button reopens the window. Account details are in the accounting settings guide.
Editing or deleting a branch
On the branch row, open the Actions menu and choose Edit to change its details, or Delete and then Confirm to remove it.
A branch that has invoices on it can't be deleted. When a branch is deleted, its users are unlinked and its access rules are removed.
No Branches item or New branch button?
Branches shows in the sidebar for users allowed to view branches, and New branch for users allowed to create them. Ask your account admin.
To learn how to grant permissions, see the roles and permissions guide.
Common questions
- How do I add a new branch in Snad?
- Open Branches in the sidebar, press New branch, enter the Name, then press Save.
- What do I need to create a branch?
- Just a name of 3 characters or more. Commercial record, Country and City are optional.
- Do I have to create the branch's accounts right away?
- No. Press Later in the Suggested accounting setup window and finish the setup whenever you like in the accounting settings.
- Can I link an employee to the branch?
- Yes, with the Link a user button on the branch form. A linked user sees this branch's data by default. An employee's branch is set when you add them or import them.
- Can I delete a branch that has invoices?
- No. A branch with invoices on it can't be deleted, but you can change its details from Actions, then Edit.