
How to transfer stock between warehouses in Snad
To move stock between two warehouses in Snad, open Inventory, then Stock transfer, and press Create stock transfer. Pick the warehouse in From and the one in To, add products with Add product, enter each Quantity, then press Save.
In this guide6
Steps
Step 1: Open the transfer screen
In the sidebar, choose Inventory, then Stock transfer, and press Create stock transfer above the list. Details
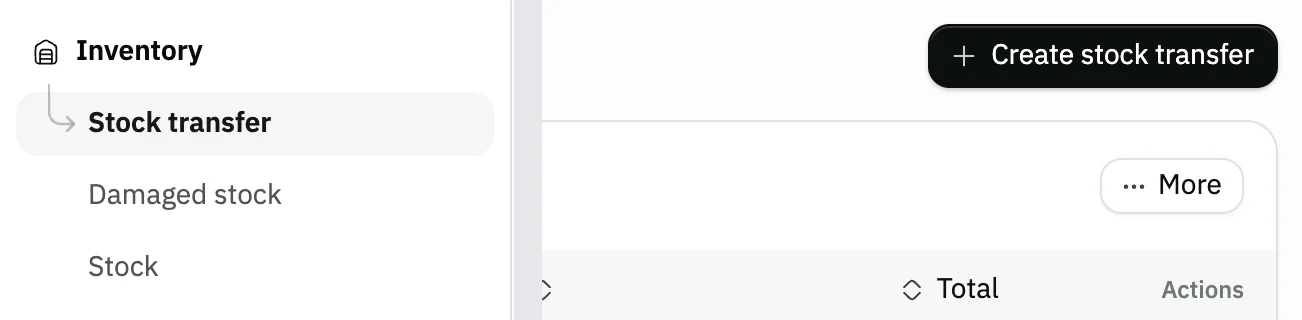
Image key - Stock transfer in the sidebar
- The Create stock transfer button
Step 2: Pick the two warehouses
In Main information, pick the warehouse the goods leave in From, and the one they reach in To. Snad won't take the same warehouse in both. Details
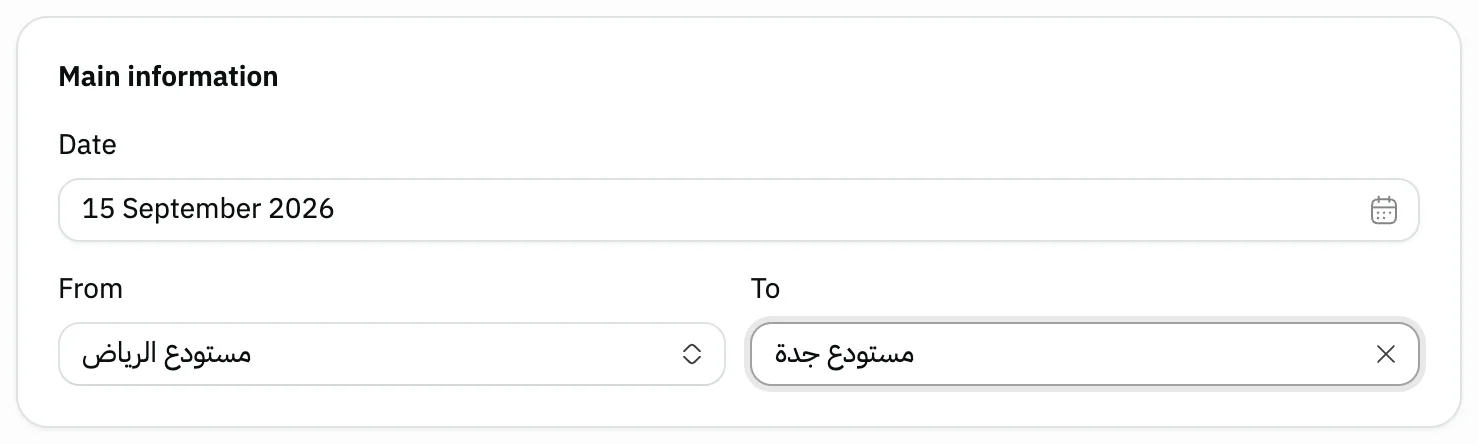
Image key - From: the source warehouse
- To: the destination warehouse
- The transfer Date
Step 3: Add the products
Press Add product, search by name or barcode, tick the products you need, then press Apply. The button works once both warehouses are picked.
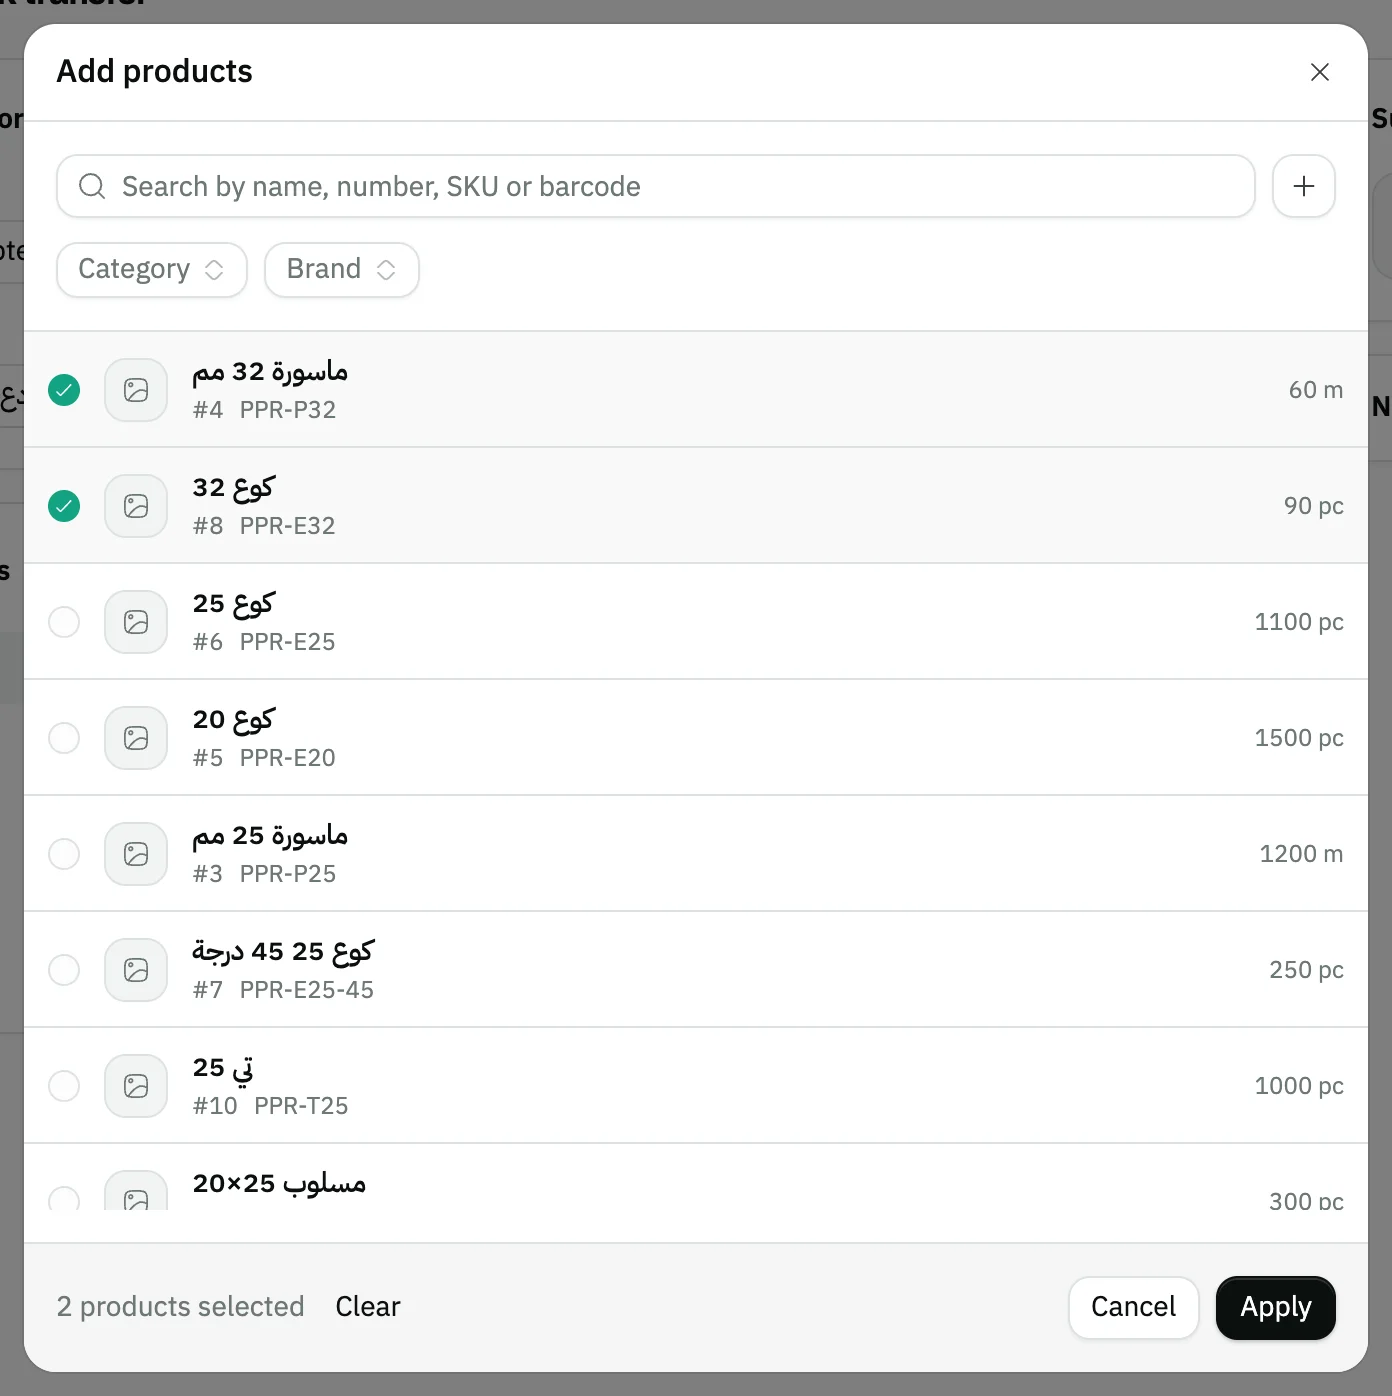
Image key - Search by name, number or barcode
- A ticked product
- The Apply button
Step 4: Enter the quantities
Enter the Quantity on each line. The product's balance in the source warehouse shows under its name, and the quantity can't be more than that. Details
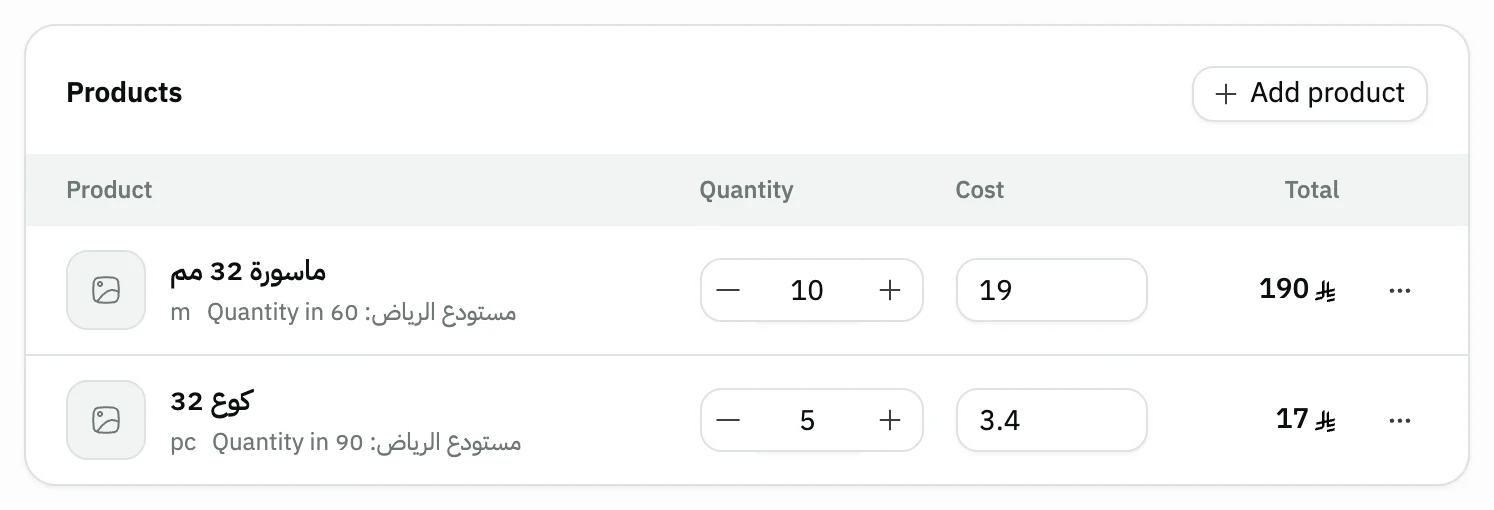
Image key - Balance in the source warehouse
- Quantity
- The product Cost
Step 5: Check the summary and notes
The Summary shows the Total at product cost. If your prices include tax, Tax included appears next to the product Cost and the total is called Total (incl. tax). In Notes and attachments, add a Reference or Notes if you need to. Details
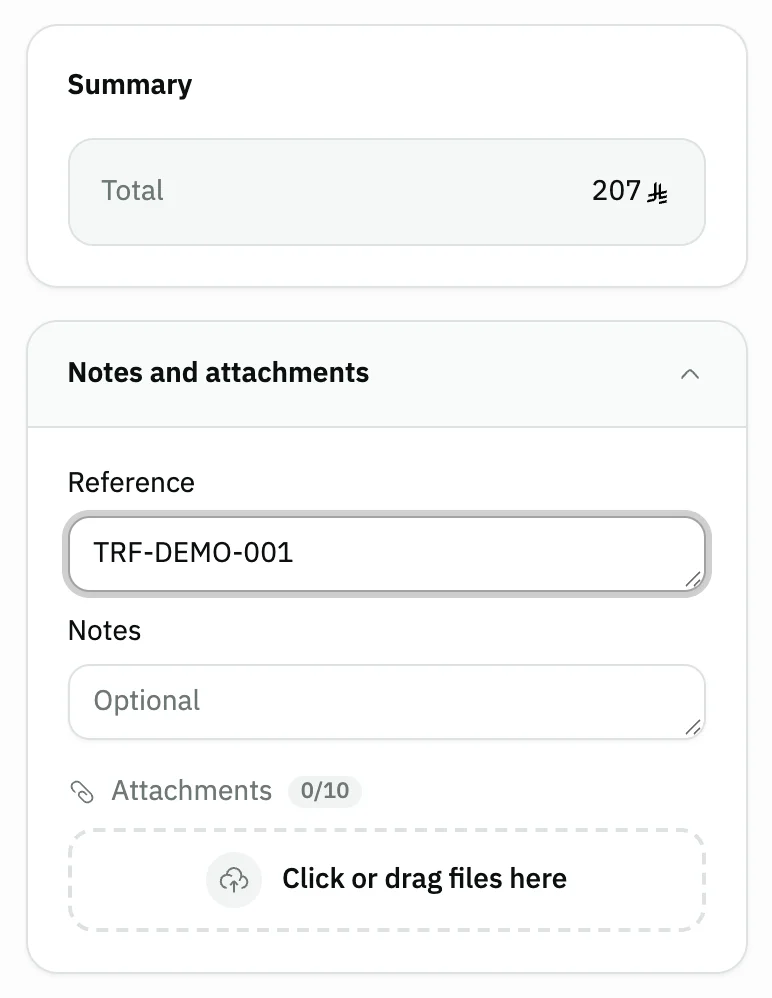
Image key - The Total in the Summary
- The transfer Reference
Step 6: Save the transfer
Press Save. The saved transfer page opens, the source warehouse balance goes down and the destination balance goes up (stock reports). Details
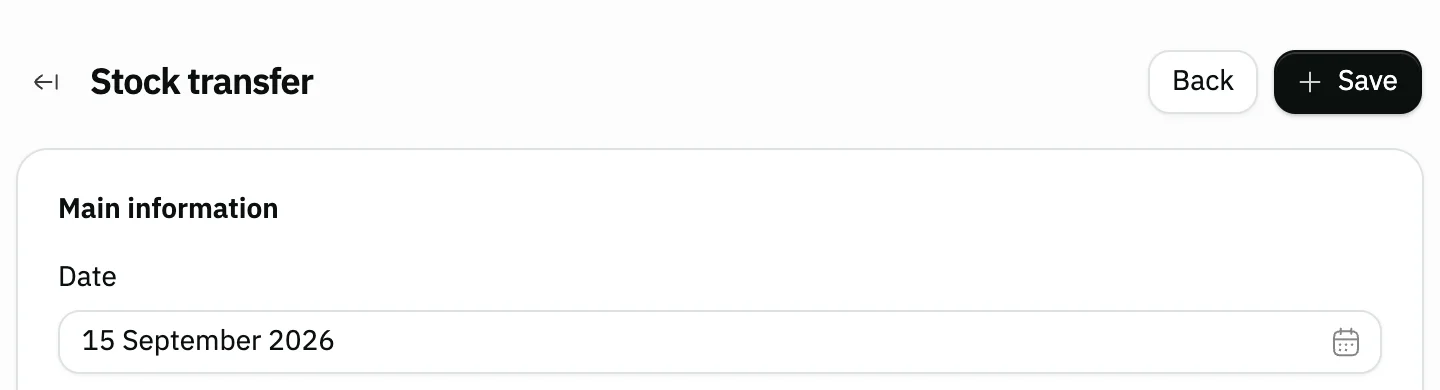
Image key - The Save button
Messages that block saving
If saving fails, one of these messages shows next to the field. The table gives the cause and the fix.
| Message | Cause | Fix |
|---|---|---|
| «مطلوب (shown in Arabic)» | The From or To warehouse is not picked. | Pick both warehouses before saving. |
| «Pick a product first» | The transfer has no products. | Add at least one product with Add product. |
| «Enter a quantity» | A line has no quantity, or its quantity is zero. | Enter the Quantity on the flagged line. |
| «Transfer quantity is larger than available quantity in “source warehouse name”» | A line's quantity is more than the product's balance in the source warehouse. | Lower the quantity to the balance shown under the product name, or pick another source warehouse. |
Advanced details
Each section here explains one point from the steps in depth. Every section has a fixed link you can share.
The transfer date
The Date field starts on today's date. If it is locked, the allow-date-changes setting for Inventory is off in the general settings.
Products with serial numbers
For a product that Snad tracks by serial numbers, you pick the units to move from the source warehouse instead of typing a quantity. The count of numbers must match the quantity.
If numbers are missing or extra, saving stops with “The number of serials does not match the quantity.”
Reference, notes and attachments
In Notes and attachments you write the transfer Reference, such as an internal order number, add Notes, and attach files.
Each product line also has its own note, from the line menu.
After saving: edit, delete and print
On the saved transfer page, press Update stock transfer to change the warehouses, products and quantities, then Save. Move between transfers with the previous and next arrows.
The Print and Delete buttons show to users with the permission, and the edit button to users allowed to edit.
Keyboard shortcuts
The keyboard cuts repeated steps:
- Alt + A on the form: Add product.
- Ctrl + S (⌘ + S on Mac): Save.
No Create stock transfer button?
The button shows only to users allowed to create stock transfers. Ask your Snad account admin to grant it (roles and permissions).
If you see “This app is not included in your plan”, the Inventory app is outside your current plan.
Custom fields on the transfer
Your organization can add its own fields to the stock transfer form. Open the Customizer and choose Stock transfer under Inventory, then press the place for the field: Bottom of the transfer details under the main information, or End of the stock transfer after the product lines, and press Add field. The form is listed when the Warehouses app is on.
The fields show in the form where you placed them. If you tick a field Required, a new transfer is not saved until it is filled, and the message “Fill in the required custom fields” shows. The rule does not stop saving an edit to an existing transfer.
A field with Print on documents ticked shows when you print from the saved transfer's page. One with Show in list ticked shows as a column in the stock transfer list.
Custom fields are data saved with the document only. They do not change quantities or warehouse balances.
Common questions
- How do I move goods from one warehouse to another in Snad?
- Open Inventory, then Stock transfer, and press Create stock transfer. Pick From and To, add the products and quantities, then press Save.
- Can I transfer more than the balance?
- Not from the form. The product's balance in the source warehouse shows under its name, and a larger quantity stops saving with “Transfer quantity is larger than available quantity”. If the recorded balance is wrong, correct it with a stock adjustment or stocktaking.
- Why doesn't the Add product button work?
- Pick the warehouse in From and the one in To first. The button works after both.
- Can I edit a transfer after saving it?
- Yes, from the saved transfer page with Update stock transfer, if you have edit permission.
- Do I need a special permission to transfer stock?
- Yes, the permission to create stock transfers. The account admin grants it in roles and permissions.